Use your credentials to sign in to NCR Atleos Central.
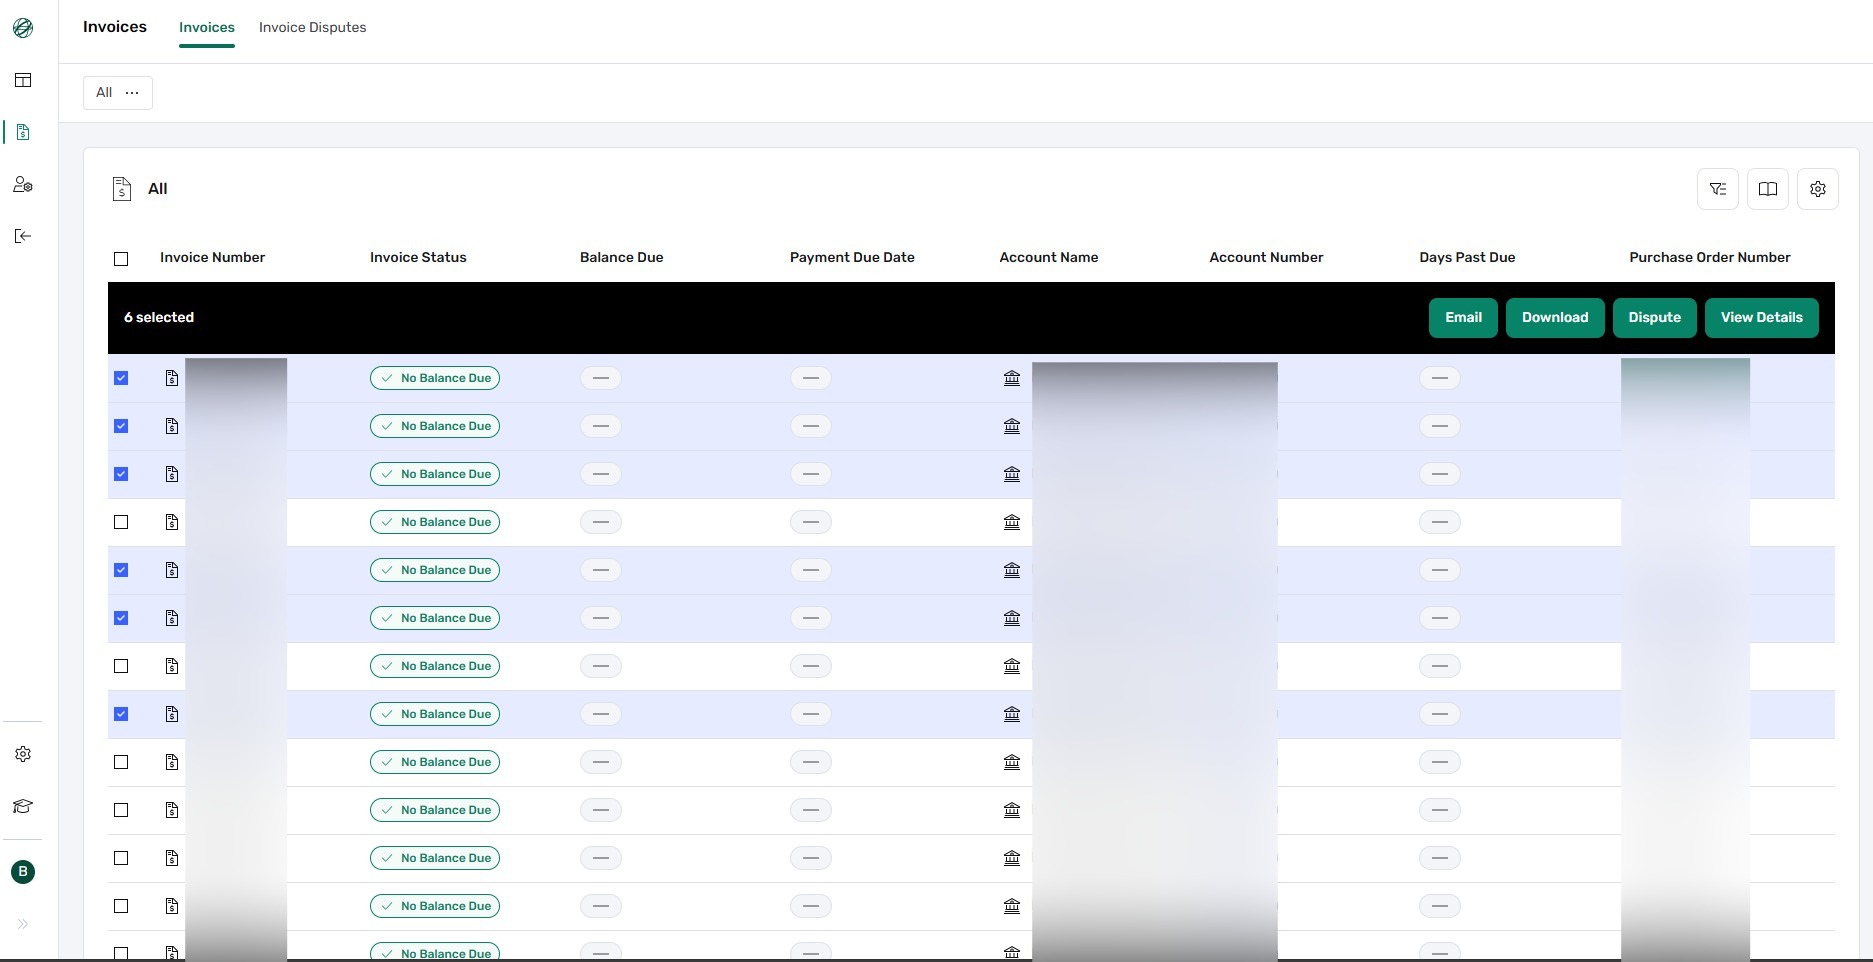
On the left-hand vertical menu, click the icon that looks like a page with a dollar sign 💲 to access the Invoices Page.
When the Invoices Page opens, you will land on the Invoices tab by default. Each row represents a separate invoice linked to your Account Number.
Refer to the screenshot below for key interface elements:

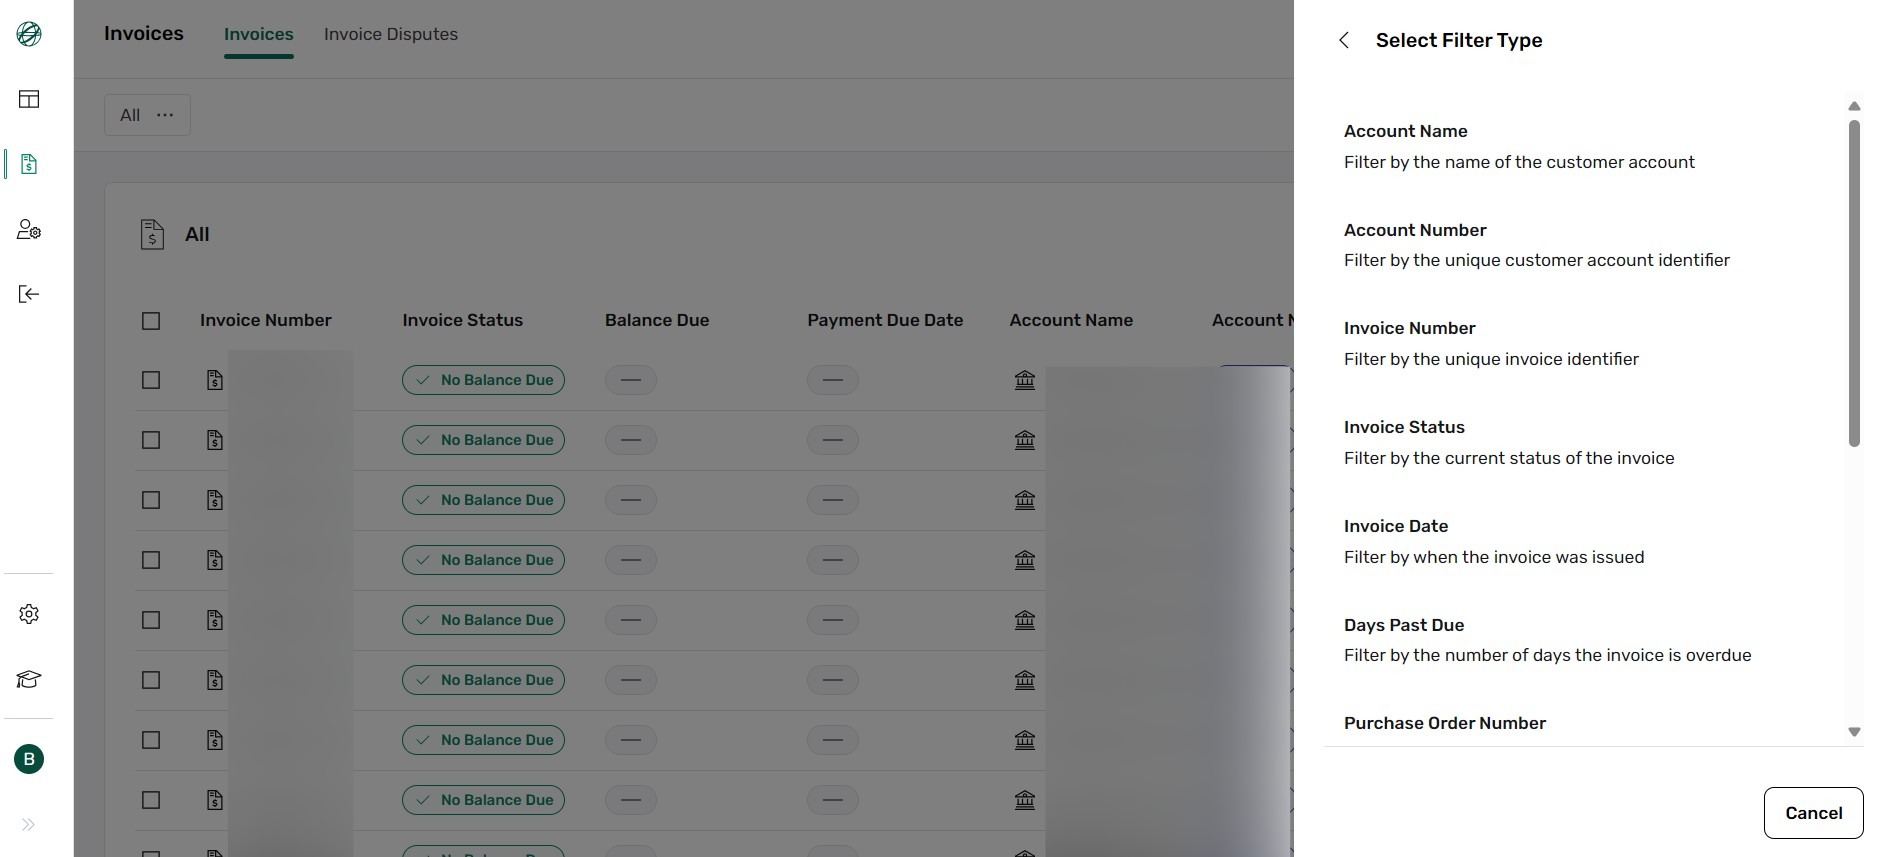
Click Advanced Filter to narrow down the invoice list. You can filter by Account Name, Account Number, Invoice Number, Invoice Status, Invoice Date, Days Past Due, Purchase Order Number, Payment Due Date, Creation Date, Quote Number, Site Name, and Country.
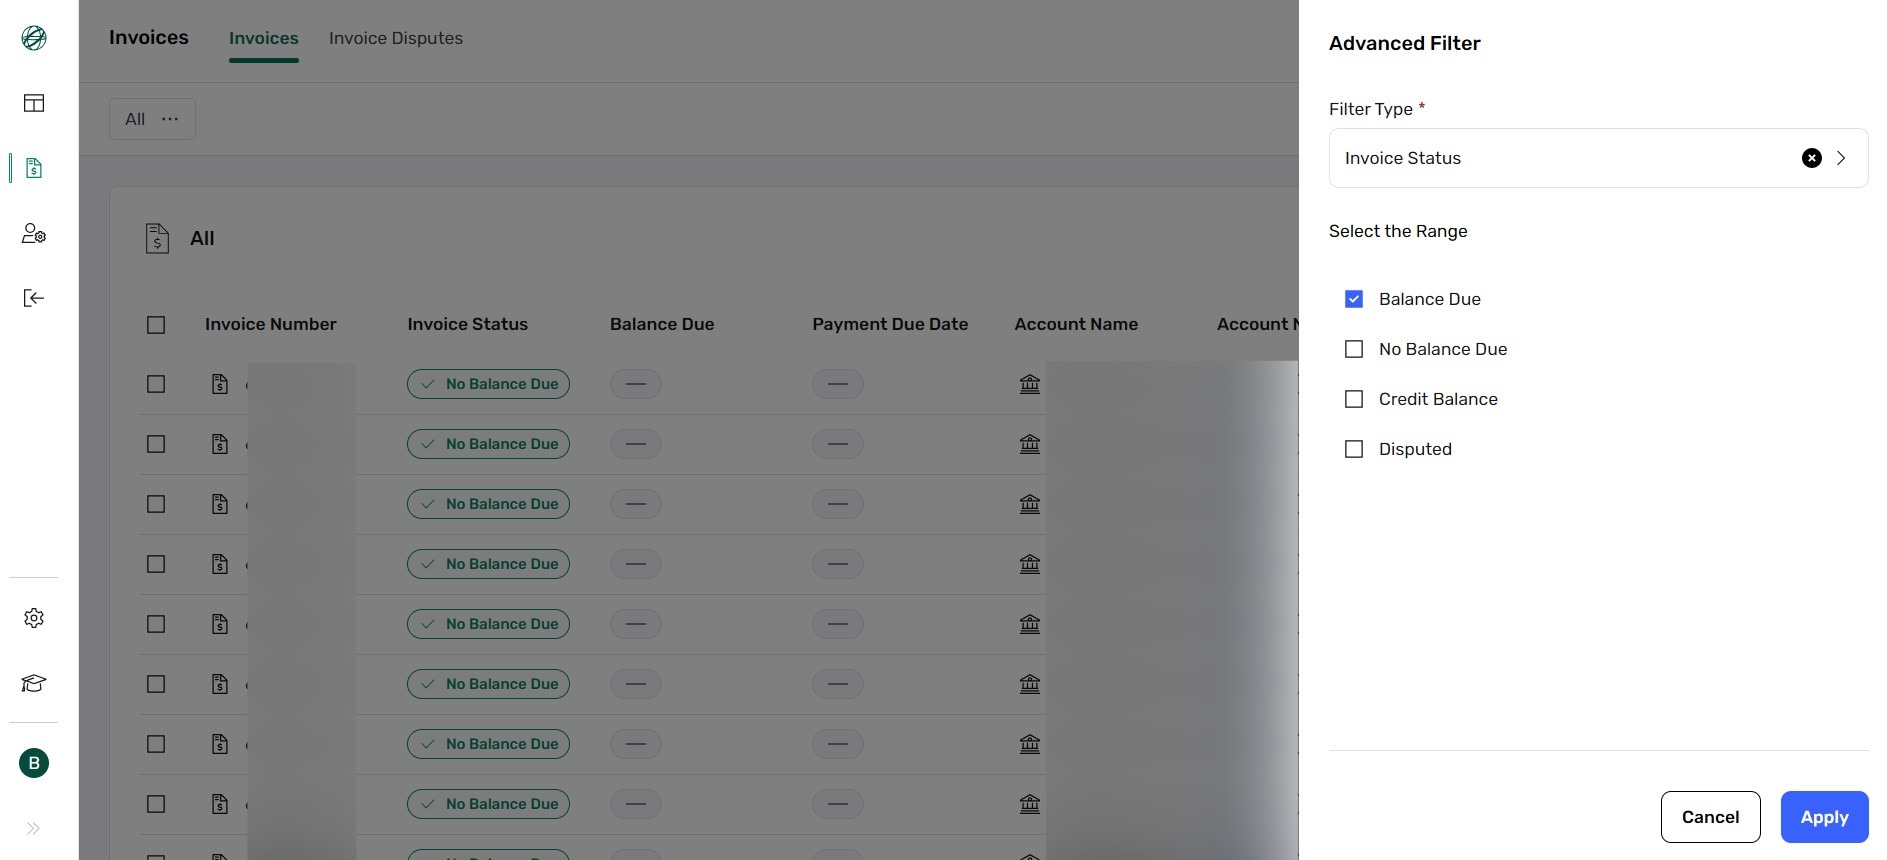
Click Advanced Filter, then use the Filter Type dropdown to select filter criteria.
Select filters, e.g., Invoice Status → Balance Due, then click Apply.
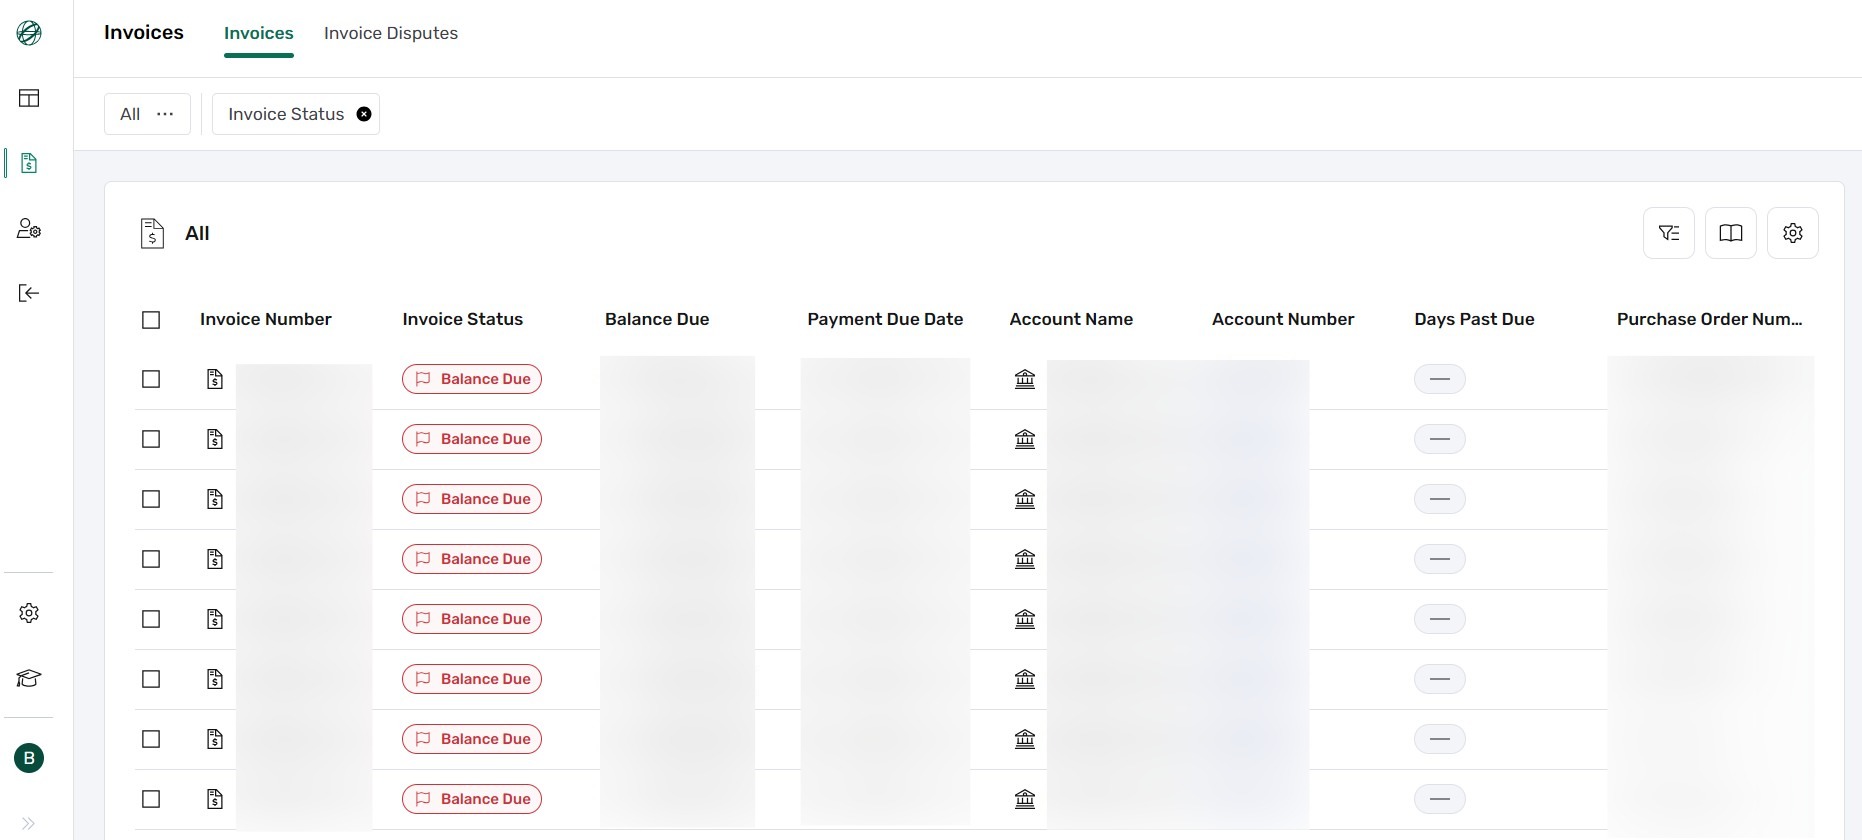
To save this view, click the open booklet icon (Saved Search) marked by number "2".
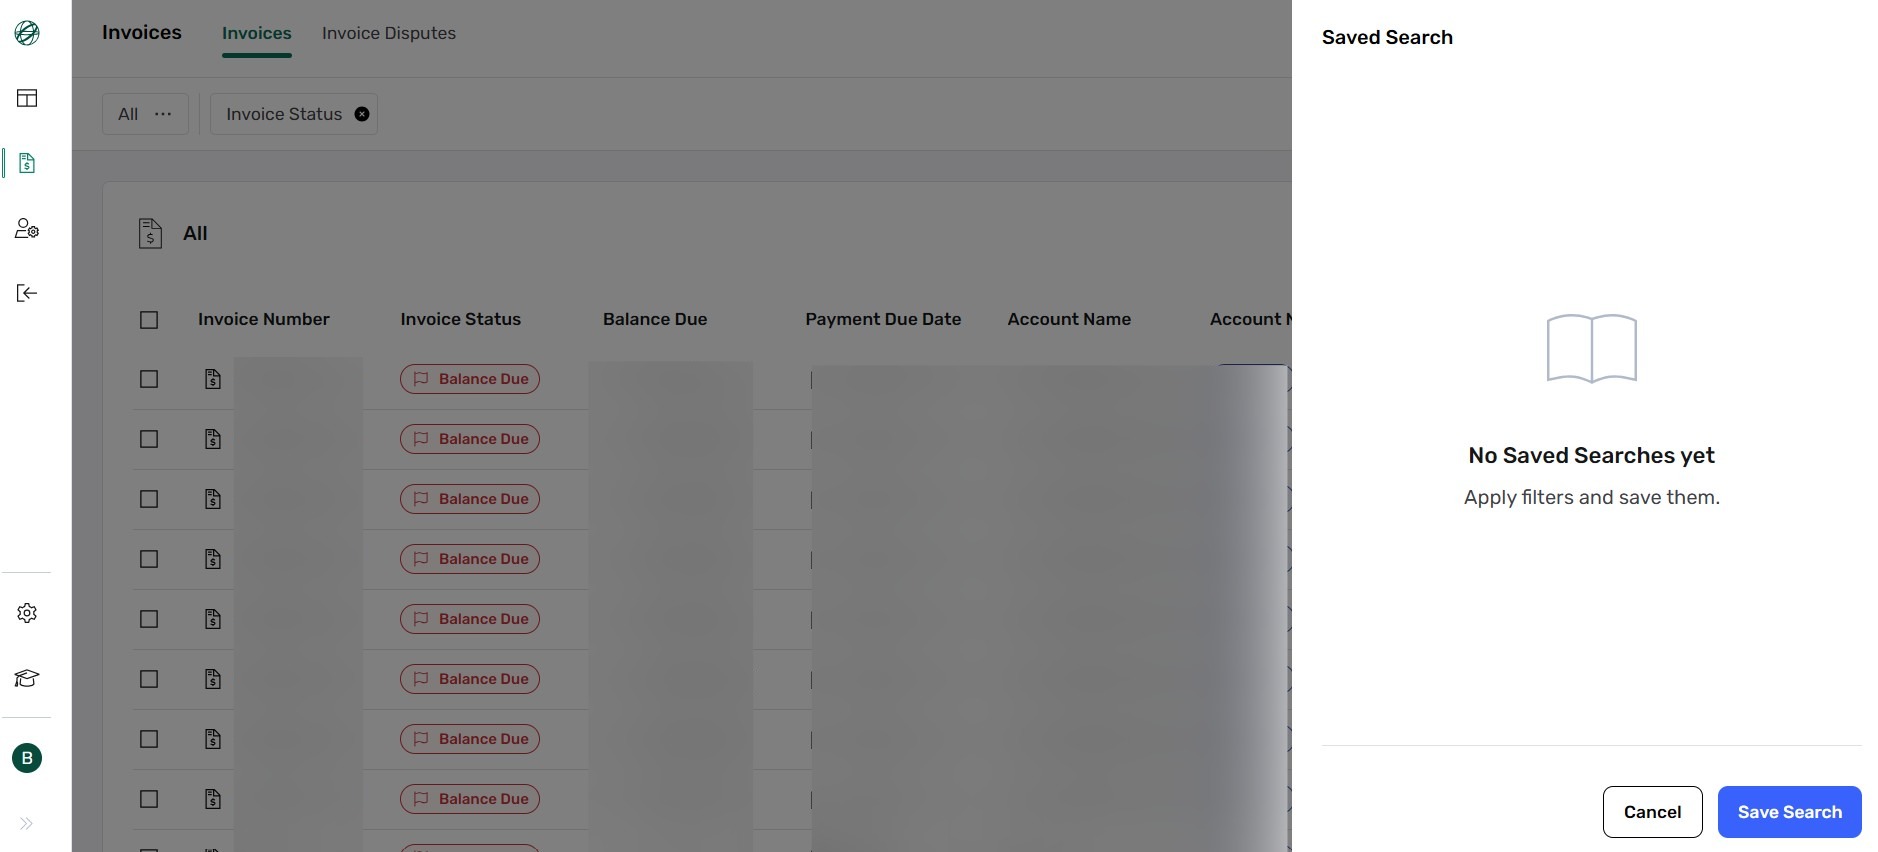
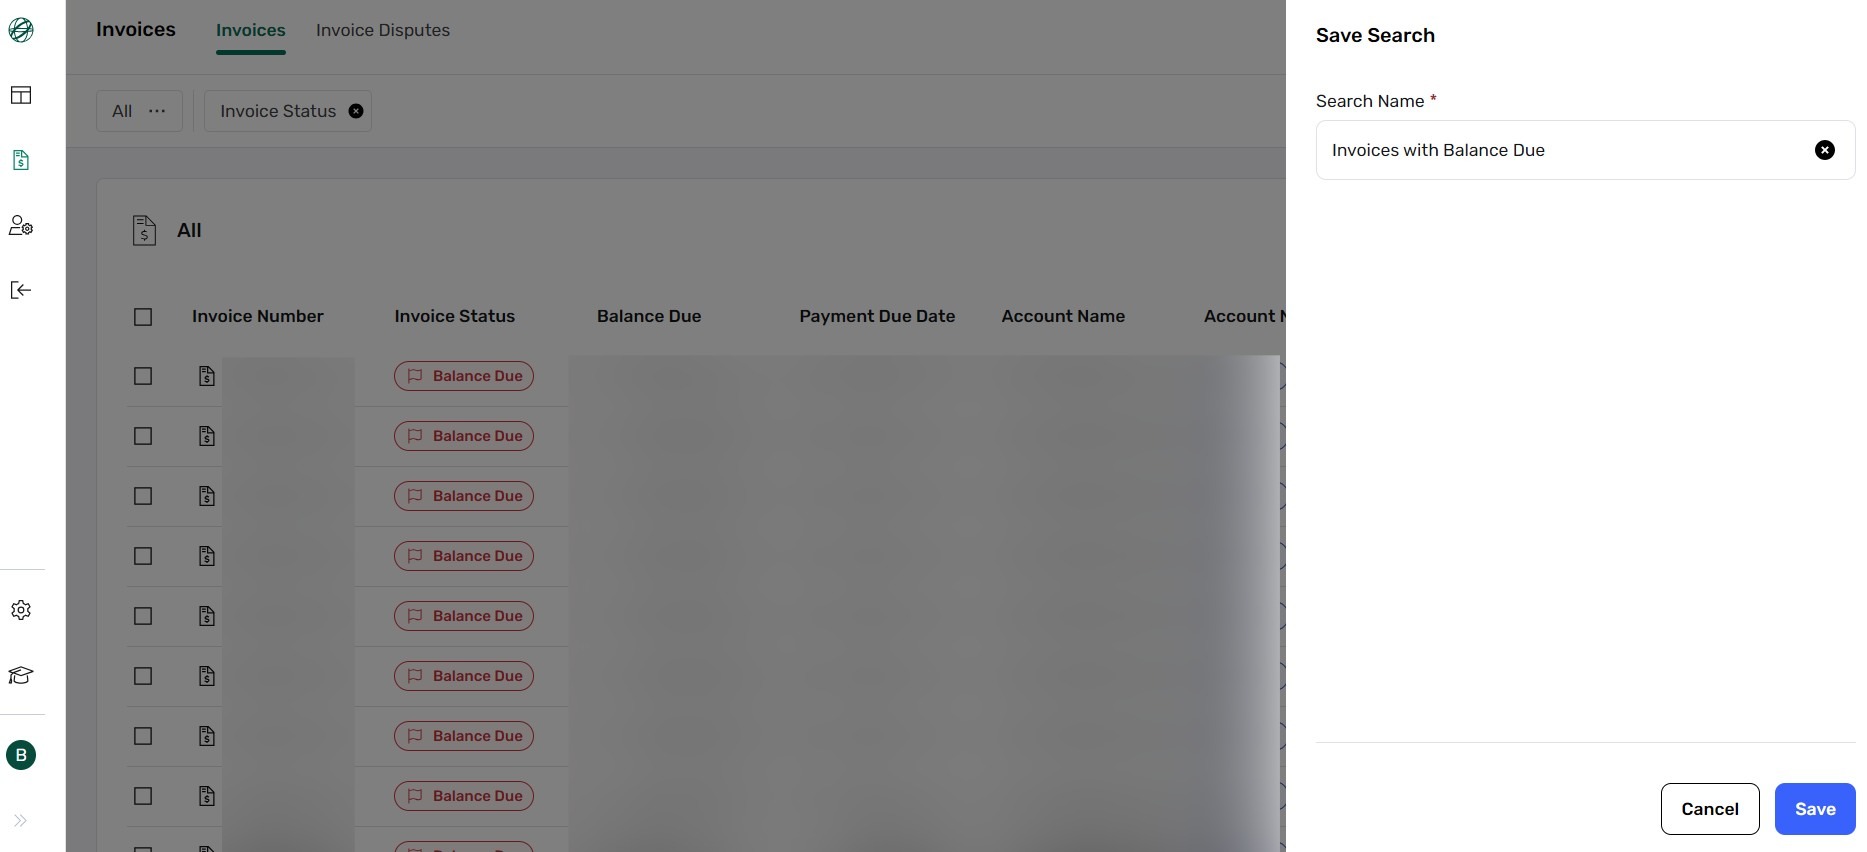
If the list is empty, click Save Search, enter a name, and click Save.
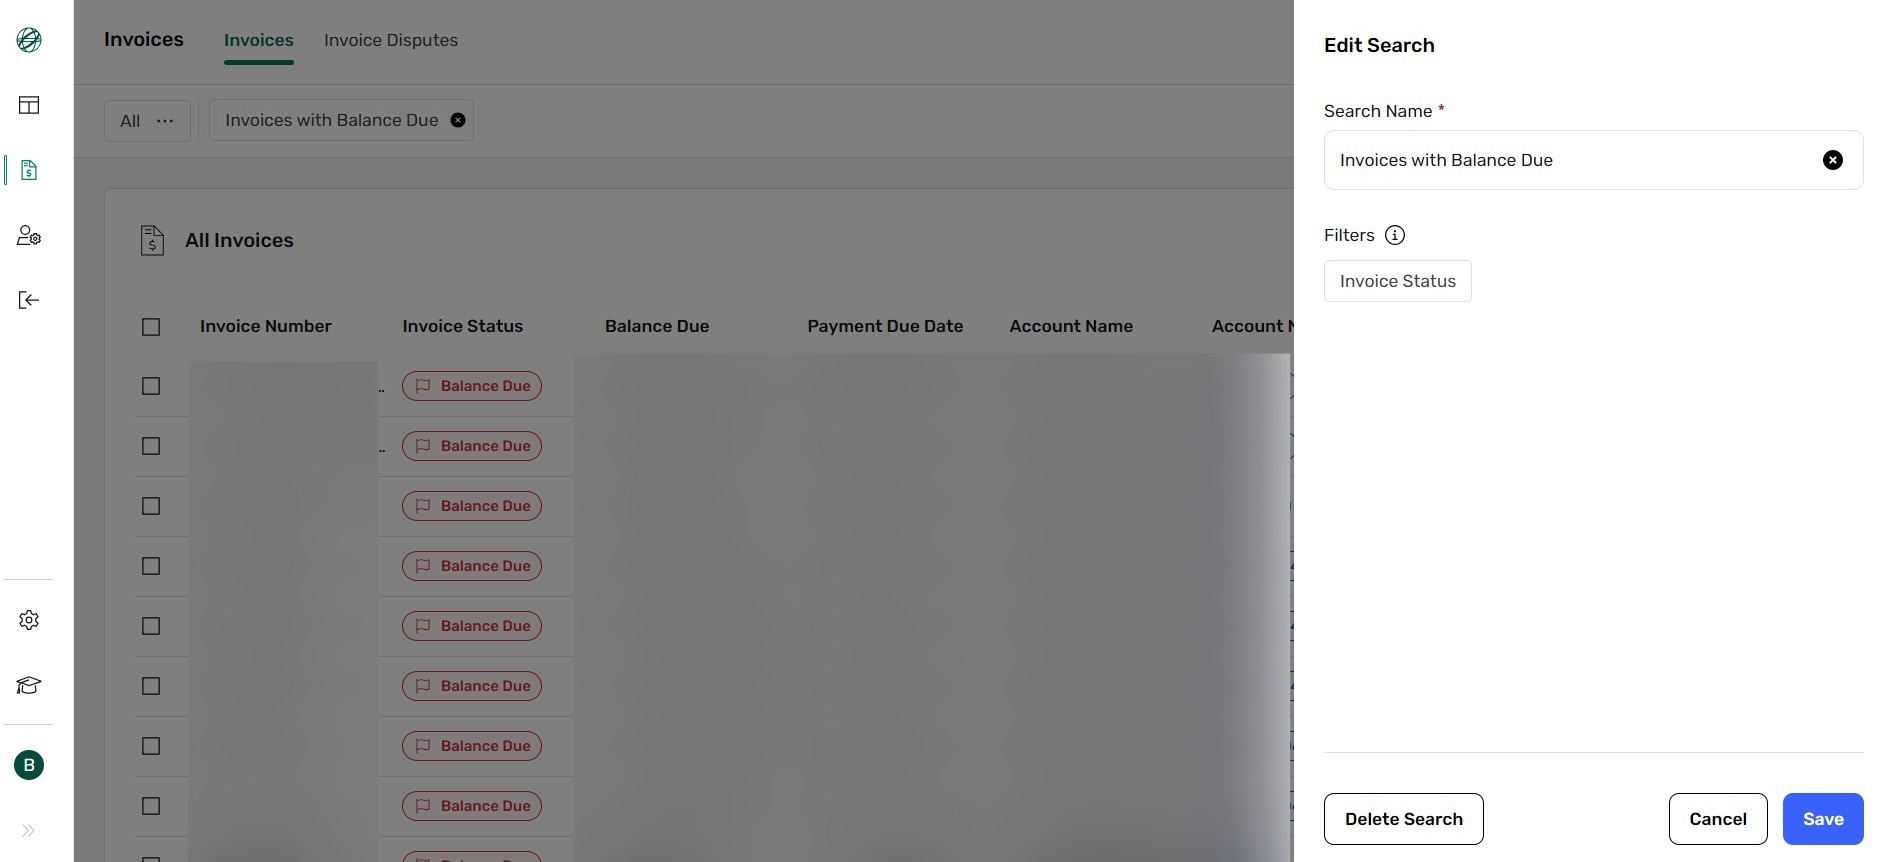
Saved search shows Check (✓) and Pencil icons. Edit or apply saved searches as needed.

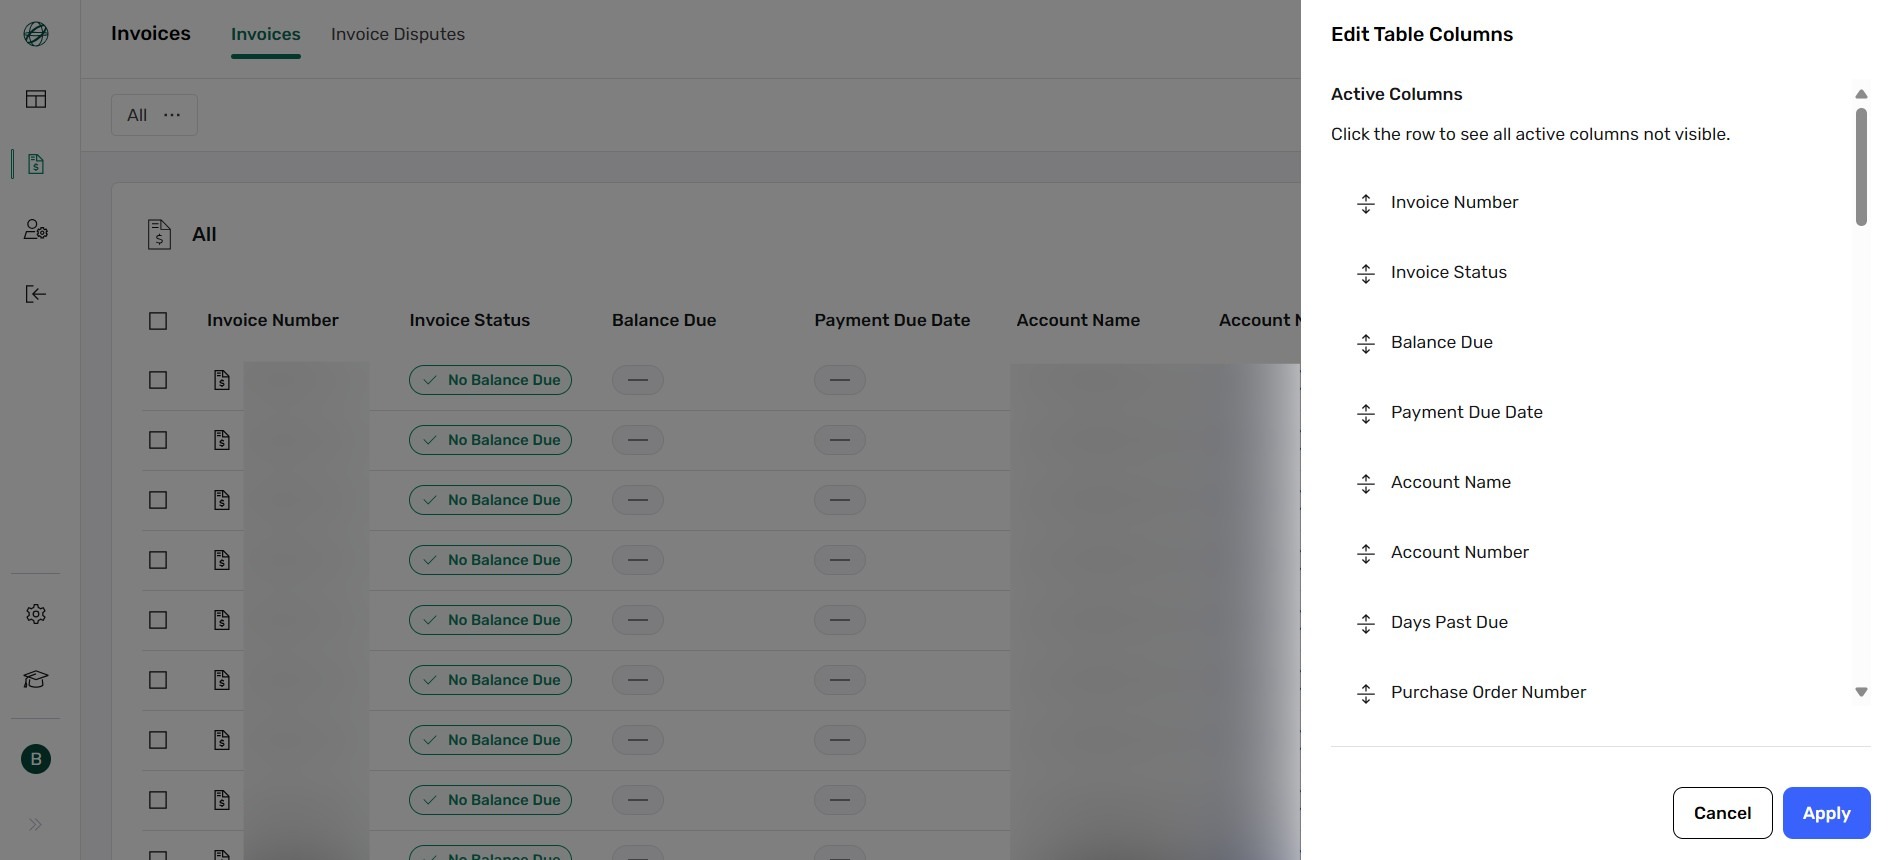
Click Edit Table Columns to choose visible columns. Active Columns are displayed, Hidden Columns can be removed via drag-and-drop.
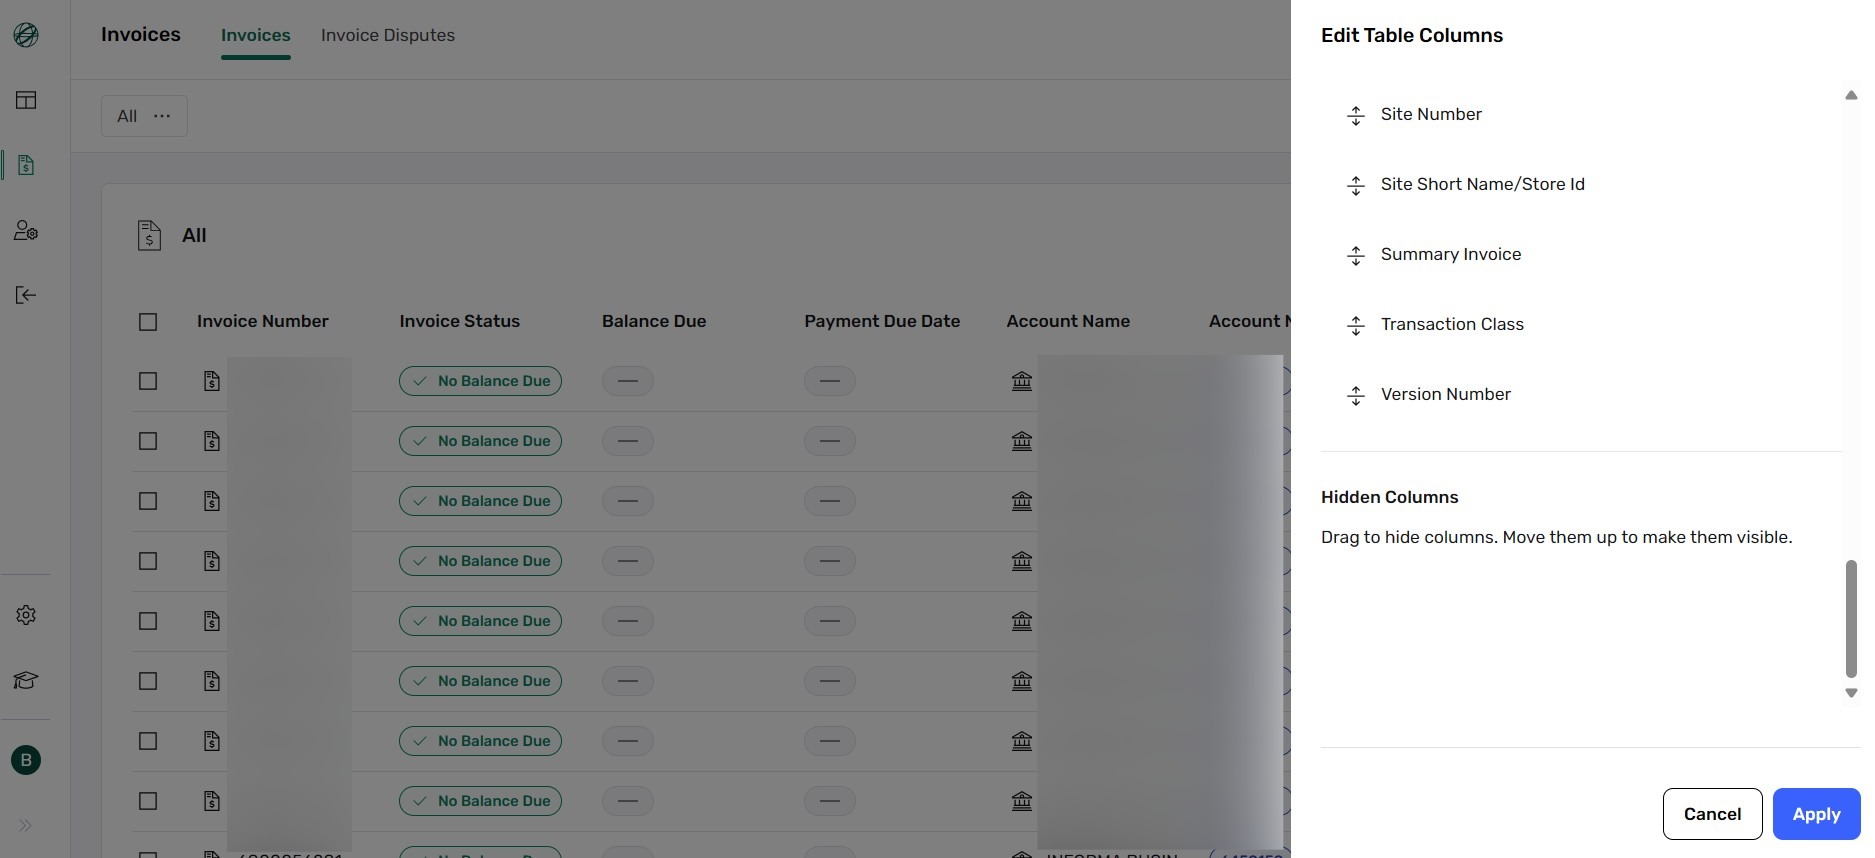
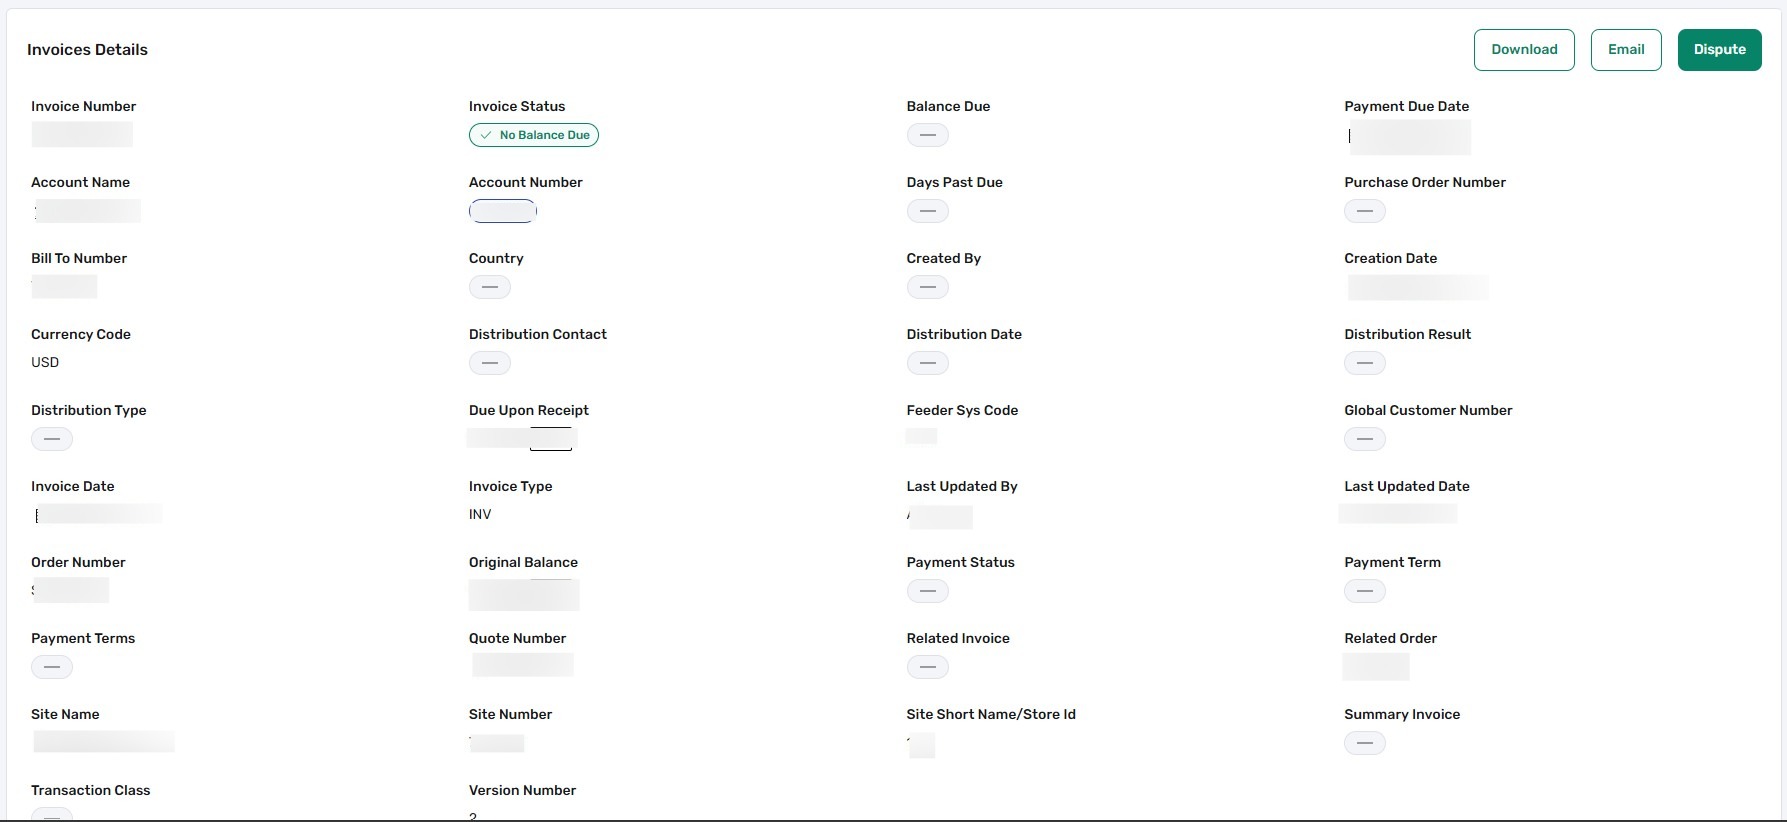
Hover over a row and click View Statement Details to see full invoice info: Bill To Number, Country, Created By/Date, Currency, Due Amount, Invoice Date/Type, Order & Quote Numbers, Site Info.
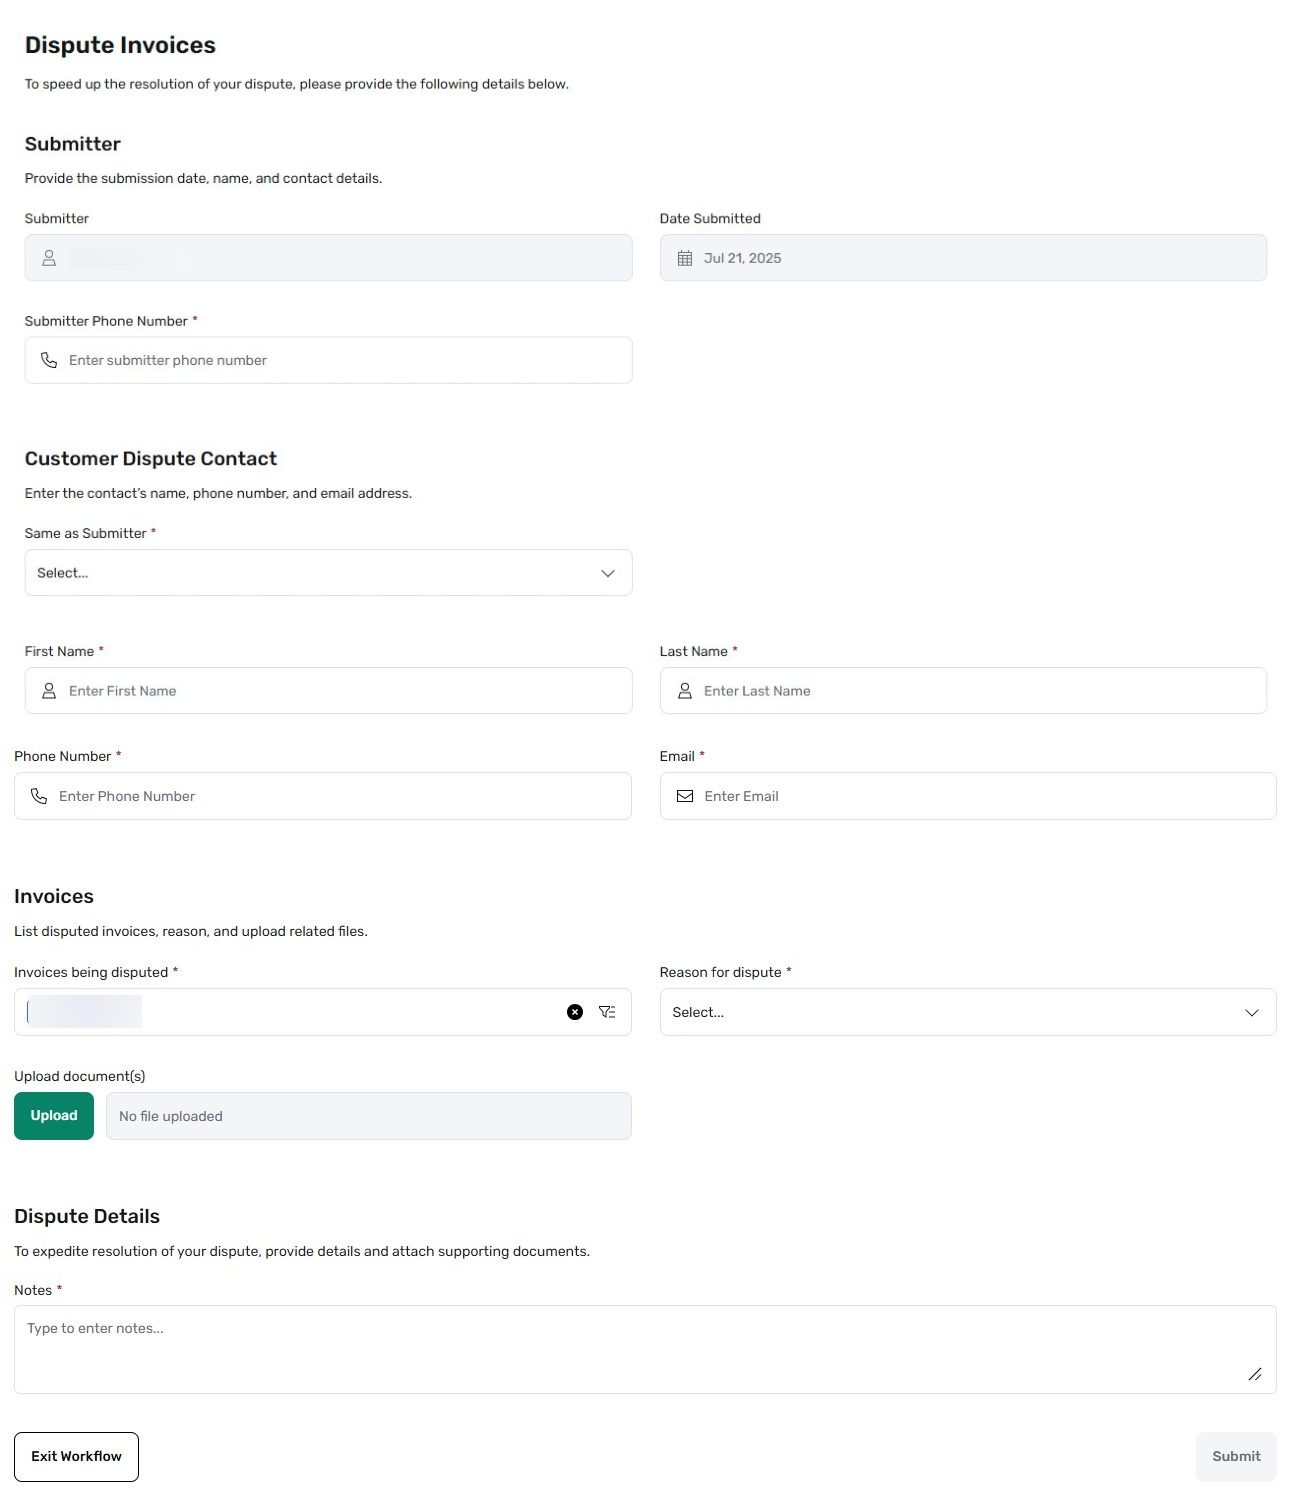
Hover over an invoice row to see four action buttons:
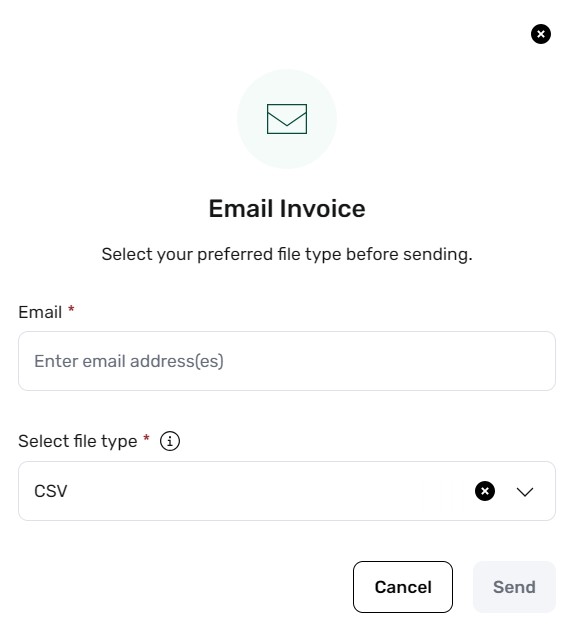
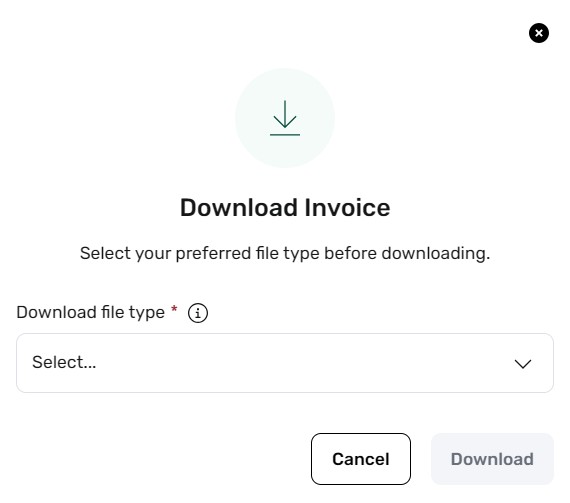
Select multiple invoices using checkboxes, then email or download in bulk.