
Account Admin Guide
NCR Atleos Central provides a centralized location for viewing account information and performing digital interactions with NCR Atleos. This guide covers essential administrative tasks to help you manage your profile and your team effectively.
Managing Your Profile
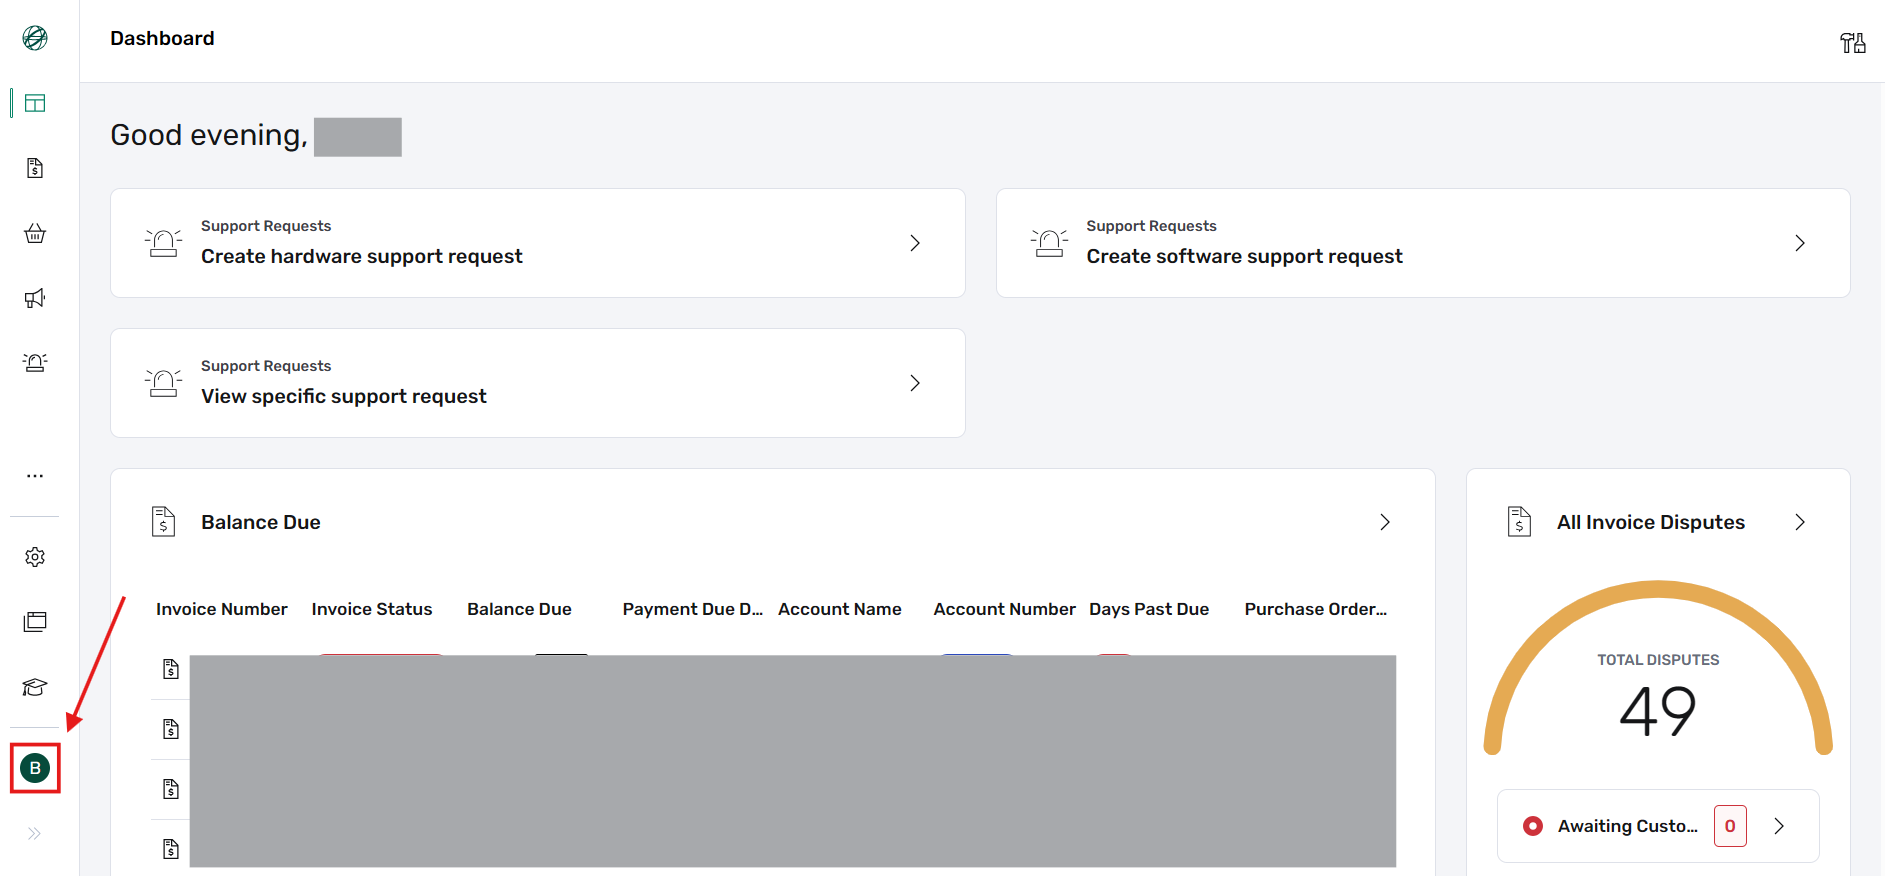
You can access your user profile from the bottom-left corner of the dashboard. This section allows you to manage personal details and account-specific settings.
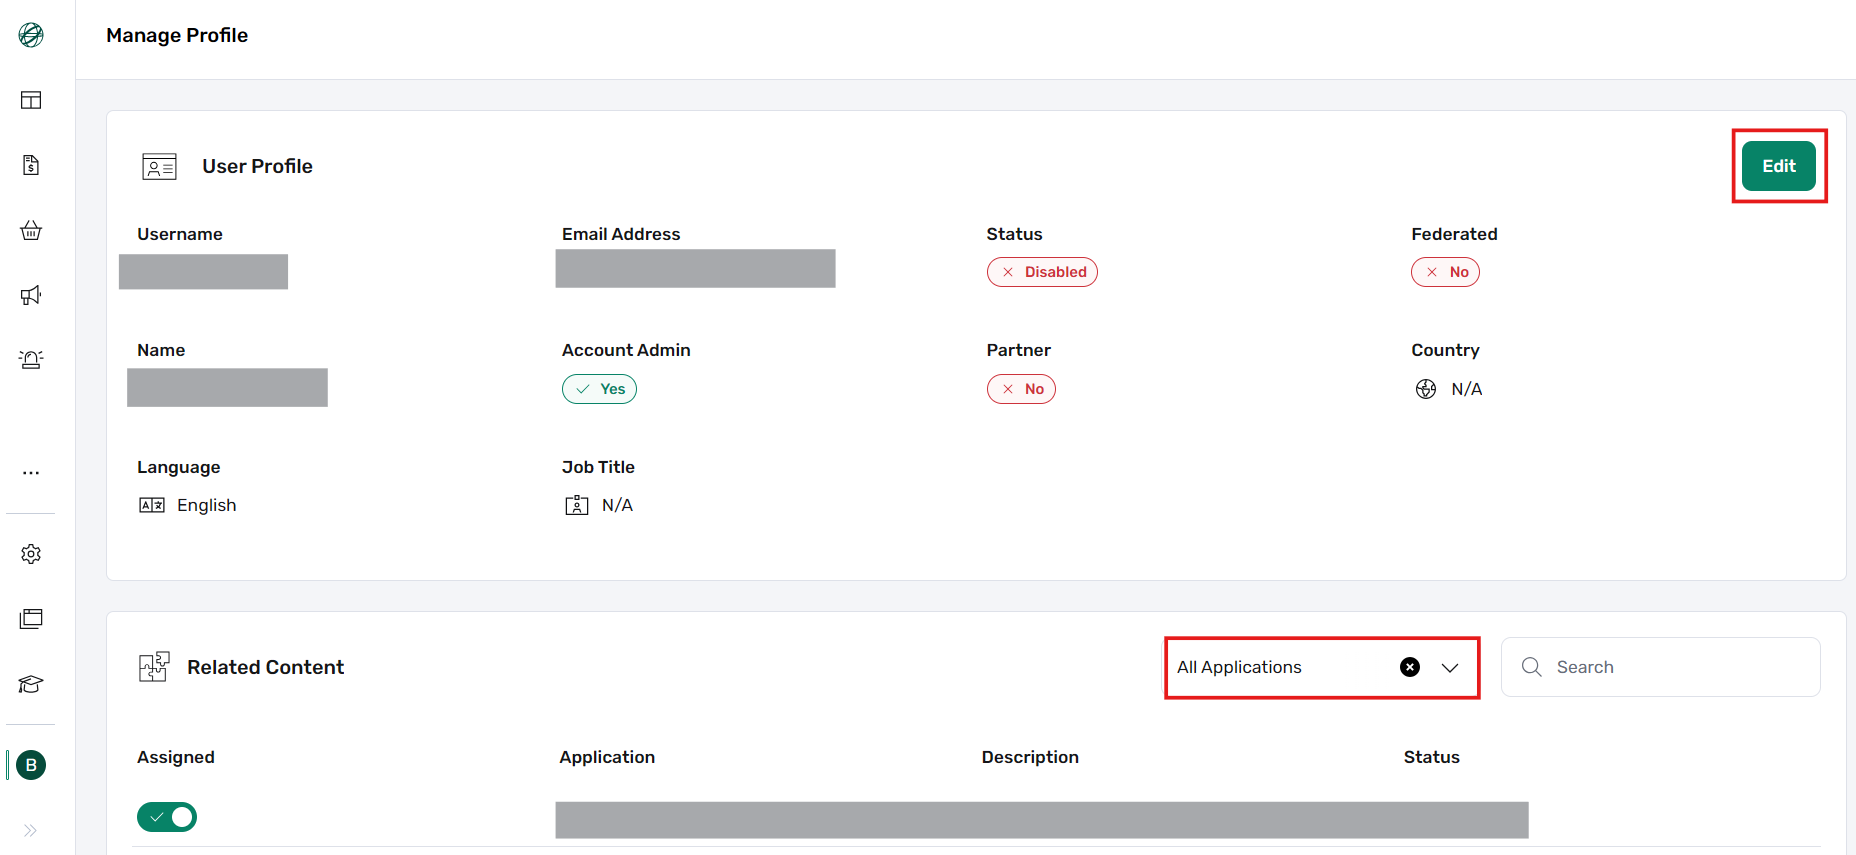
Inside the User Profile page, use the Edit button to update personal details. To the right of the Related Content section, a dropdown menu provides access to critical modules:
Applications
Request access to NCR Atleos applications for yourself or users linked to your account.
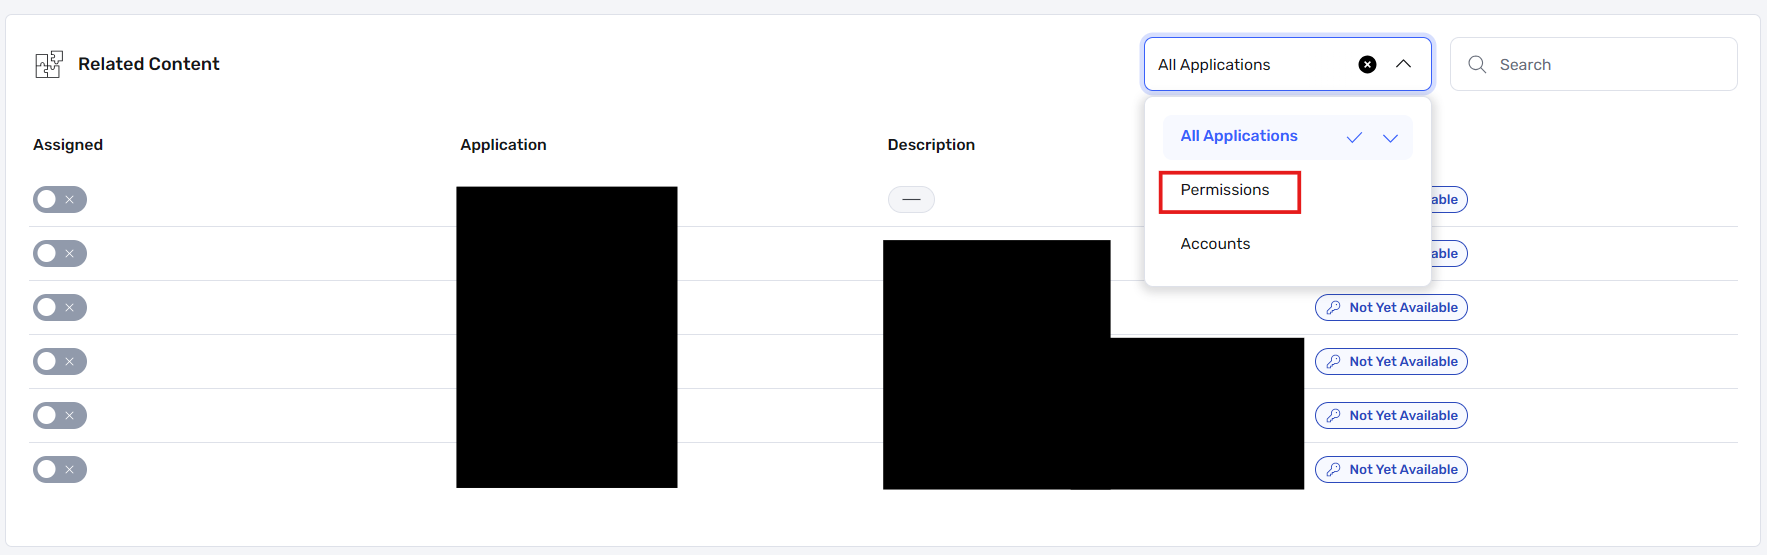
Permissions
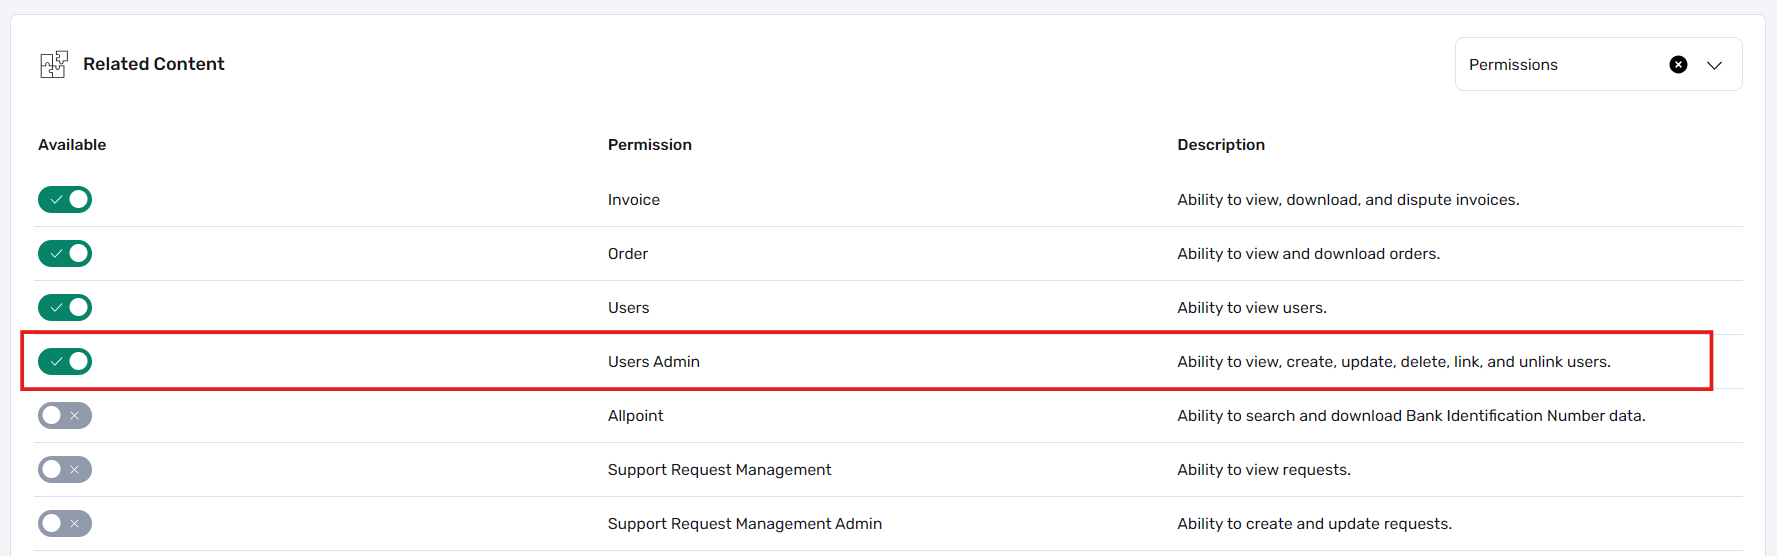
Displays current permissions; Admins can manage these using intuitive toggle controls.
Accounts
View and manage all accounts currently linked to your NCR Atleos Central profile.
Assigning User Admin Roles
Existing User Admins can elevate other users under the same company account to the User Admin role. This allows them to create users, adjust permissions, and manage the team.
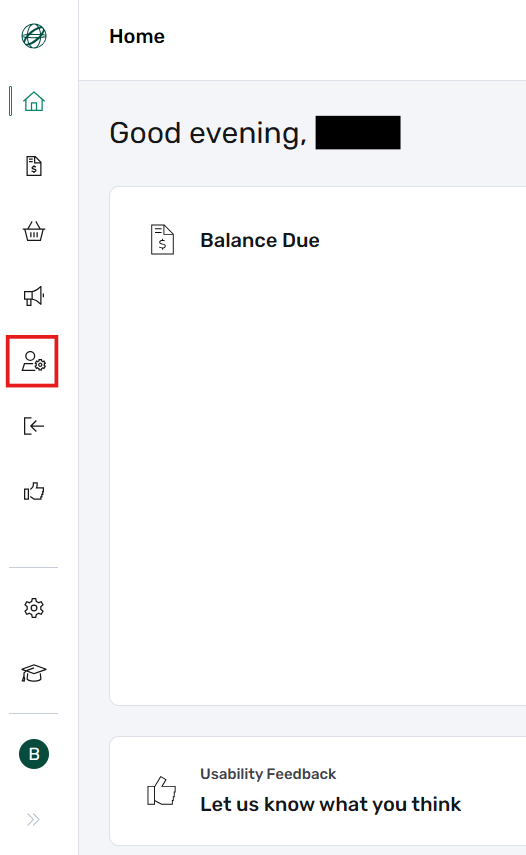
Log in to the portal and click the Administration button on the left-hand menu.
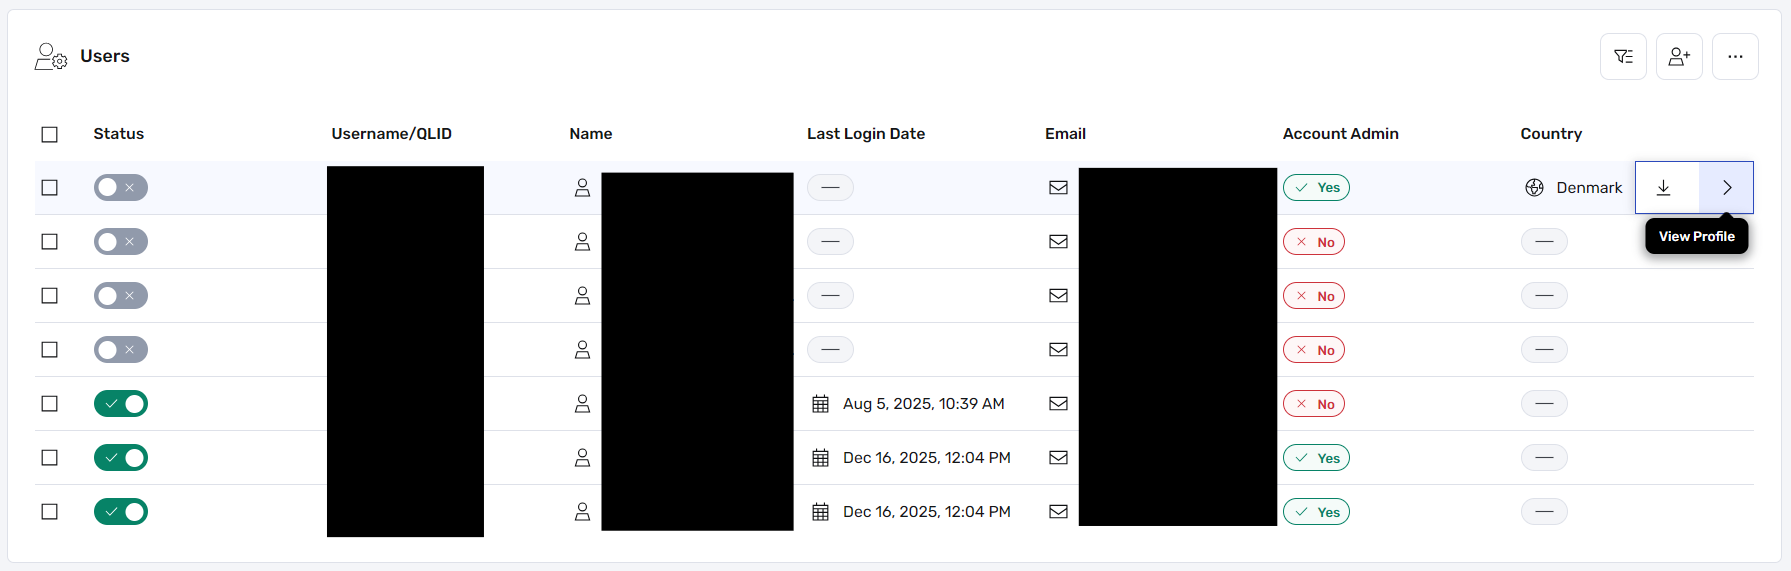
Hover over a user in the list and click the View Profile (arrow icon) on the right side.
In the Related Content dropdown, select the Permissions option.
Toggle the Users Admin switch to active. Changes are saved automatically.
Re-enabling a Disabled User
If a user's account has been set to Disabled, an Admin can restore their access in one of two ways. Re-enabling the account allows the user to sign in again.
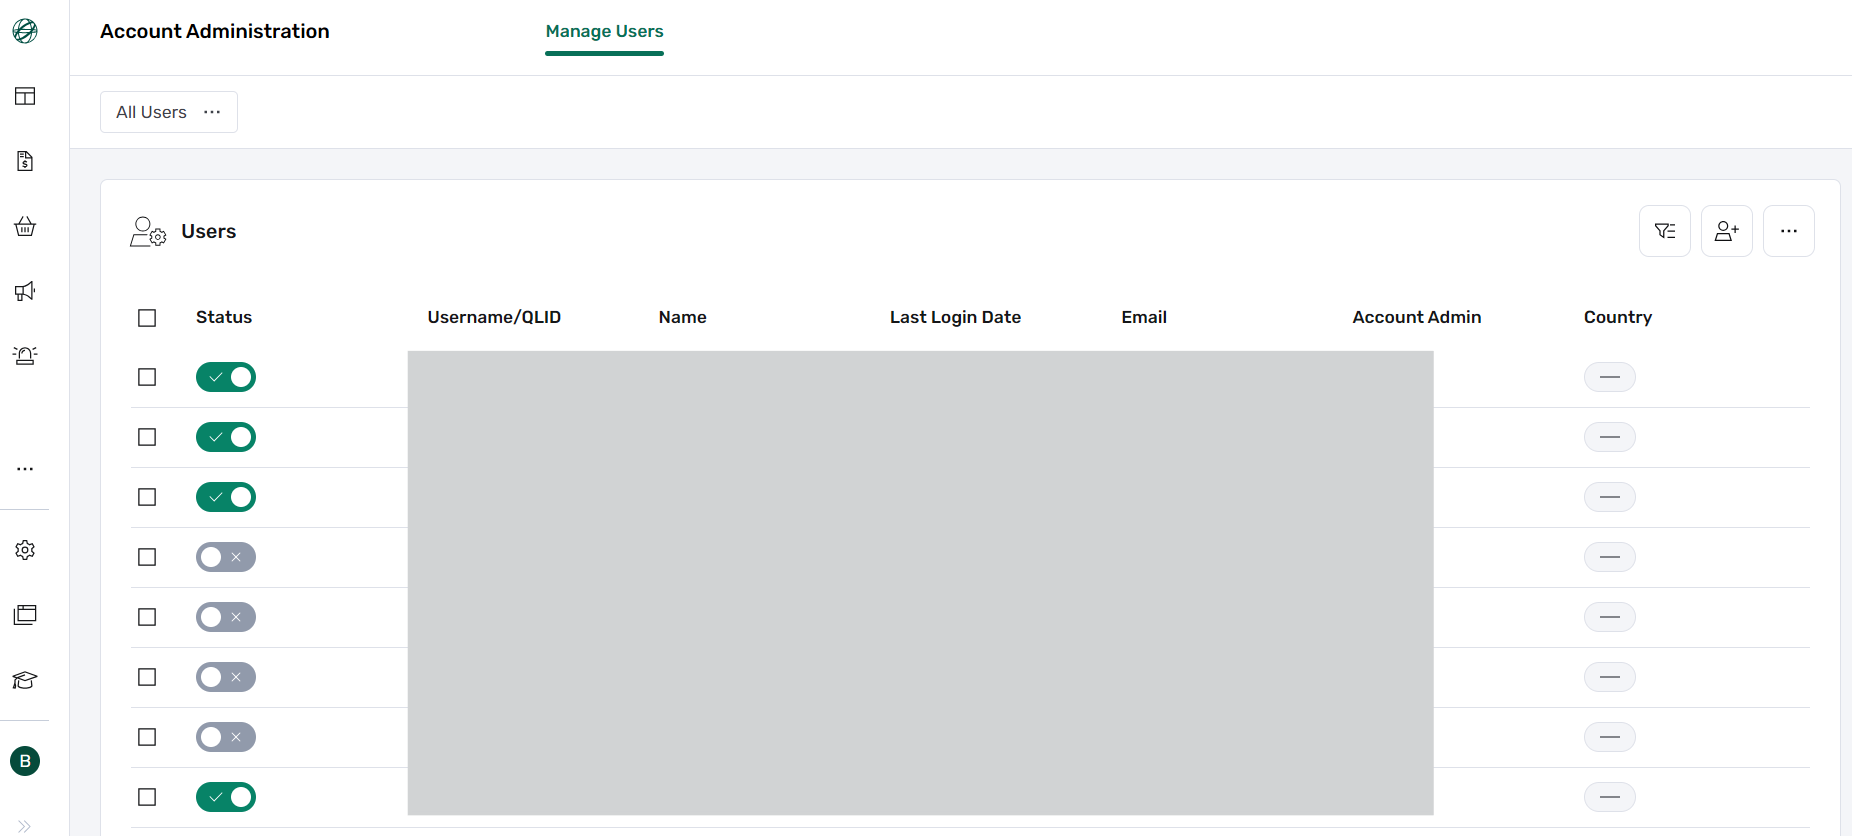
Quick Toggle from the Status Column
The fastest way — re-enable the user directly from the Manage Users results, without opening their profile.
Log in to the portal and click the Administration button on the left-hand menu to open the Manage Users list.
Locate the disabled user in the list (use Search or the Advanced Filter if needed).
In the Status column on the far-left side of that user's row, click the toggle button to switch the account from Disabled to Enabled.
Reading the Status Toggle
Green with a check sign — the user is Enabled (active).
Grey — the user is Disabled (inactive).
Clicking the toggle switches the user between the Disabled and Enabled states.
From the User's Profile (Edit)
You can also re-enable a user from within their profile using the Edit functionality.
From the Manage Users list, hover over the user and click the View Profile (arrow icon) on the right side to open their profile.
On the User Profile page, click the Edit button to make the profile fields editable.
Reset the account Status from Disabled to Active, then save.
Manage Users Overview
The Manage Users section provides a complete dashboard for team oversight and bulk operations.
Key Admin Capabilities
- Search for and filter users linked to the account.
- Download or export user information for reporting.
- Manage existing users and audit their access.
Action Controls
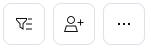
Advanced Filter, Create User, and More Actions icons.
More Actions Breakdown
Mass Link: Bulk link users to accounts via CSV template.
Clone User: Quickly duplicate access configs for new hires.
Bulk Load: Create multiple users simultaneously.
Edit Table: Customize columns in the results grid.