

Content

Introduction
Overview
Getting Started
Getting Started GuideAccount Admin GuideAccount User GuideChannel Partner GuideAllpoint GuideUser Creation Guide
FAQs
FAQs
Dashboard
Dashboard
Applications
Applications OverviewDownload Center (NAMER)Download Center (Global)
User Administration
Support Request Management
Support Request Management Guide
Invoices
View an InvoiceHow to Submit an Invoice Dispute
Orders
View an Order
Tax Forms
W-9
iSupplier Training
iSupplier Home
Getting Started
>
Allpoint Guide
Allpoint Guide | NCR Atleos Central

Allpoint Permissions & Reporting

To begin, ensure your user profile in NCR Atleos Central has been granted the Allpoint permission. Without this setup, the specific reporting features and navigation icons described below will not be visible.

1. Accessing the Module

Once your permissions are active, look at your left-hand vertical navigation bar. You will notice a new Allpoint icon, which resembles a paper bill or receipt.

Simply click this icon to enter the dedicated Allpoint workspace. This area is centralized to handle all your BIN-specific transaction data and reporting needs.

Allpoint Navigation Sidebar

2. The Transaction Report View

Upon entering the Allpoint page, you are greeted by the Transaction Report dashboard. This view is designed for high-level oversight, organizing complex data into a readable table format.
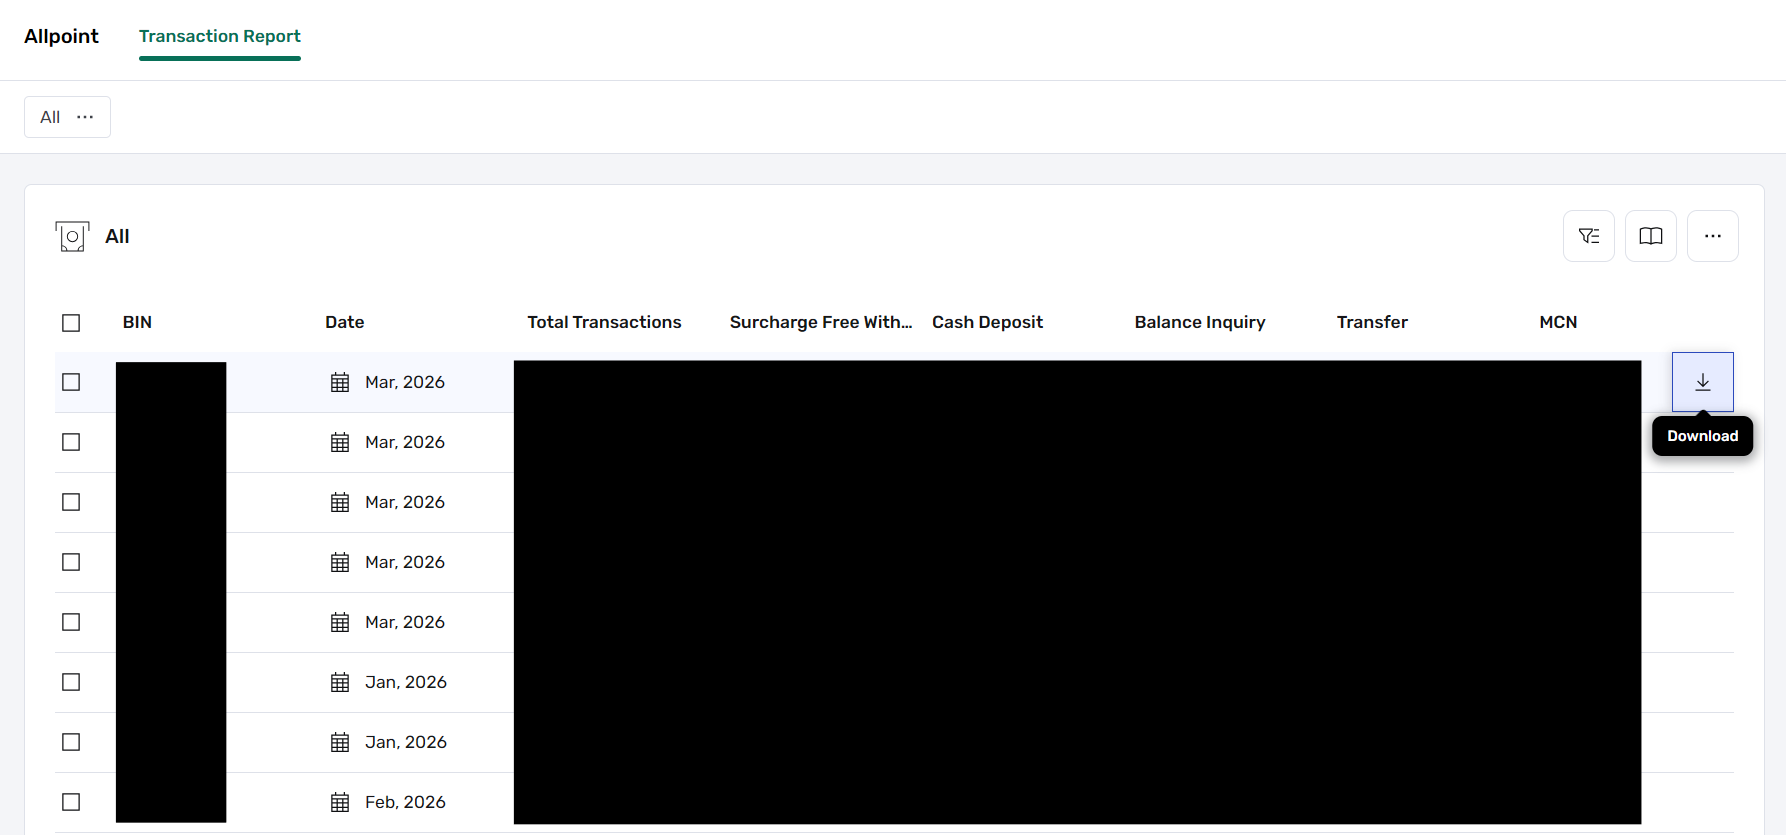
Full Transaction Report View Click image to zoom in on the Transaction Table

In this table, you can track essential metrics including BIN, Transaction Date, and MCN. It also breaks down activity by type—such as Surcharge Free Withdrawals, Cash Deposits, and Balance Inquiries—giving you a clear picture of ATM usage across your network.

3. Searching and Customizing Your Data

To the top-right of the dashboard, you’ll find the Advanced Filter and Saved Searches buttons. These tools allow you to drill down into specific data sets or save your most frequent search criteria for future use. If you need to change which columns are visible, use the More Actions menu to edit the table layout.

4. Exporting Reports

When you need to take your data offline for further analysis, Allpoint provides a seamless export path. By hovering over a specific row in the report, a download icon will appear.
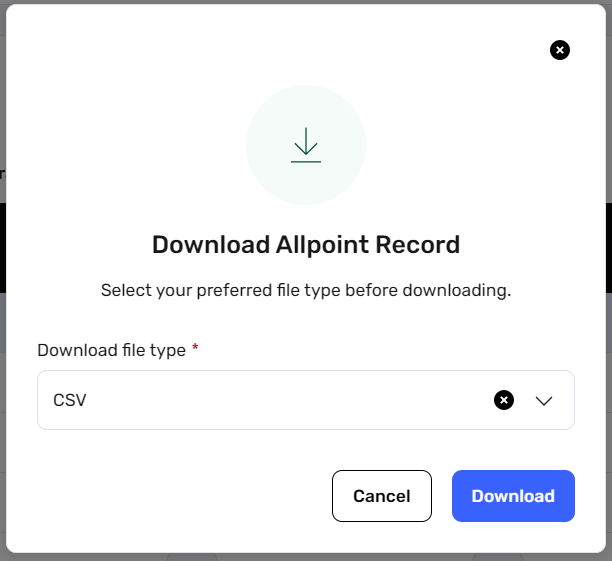
CSV Download Interface Click image to zoom in on the download options

Currently, the system supports CSV as the primary export format. This ensures that the data is ready for import into Excel or other analytical tools immediately upon download.

Need more help with filters? Check out the Getting Started Guide for a deep dive into advanced portal functions.