
Dashboard is the homepage of NCR Atleos Central and serves as the primary entry point after login. User's dashboard will only include features they are provisioned for. Not all of the below widgets will be available for every user.
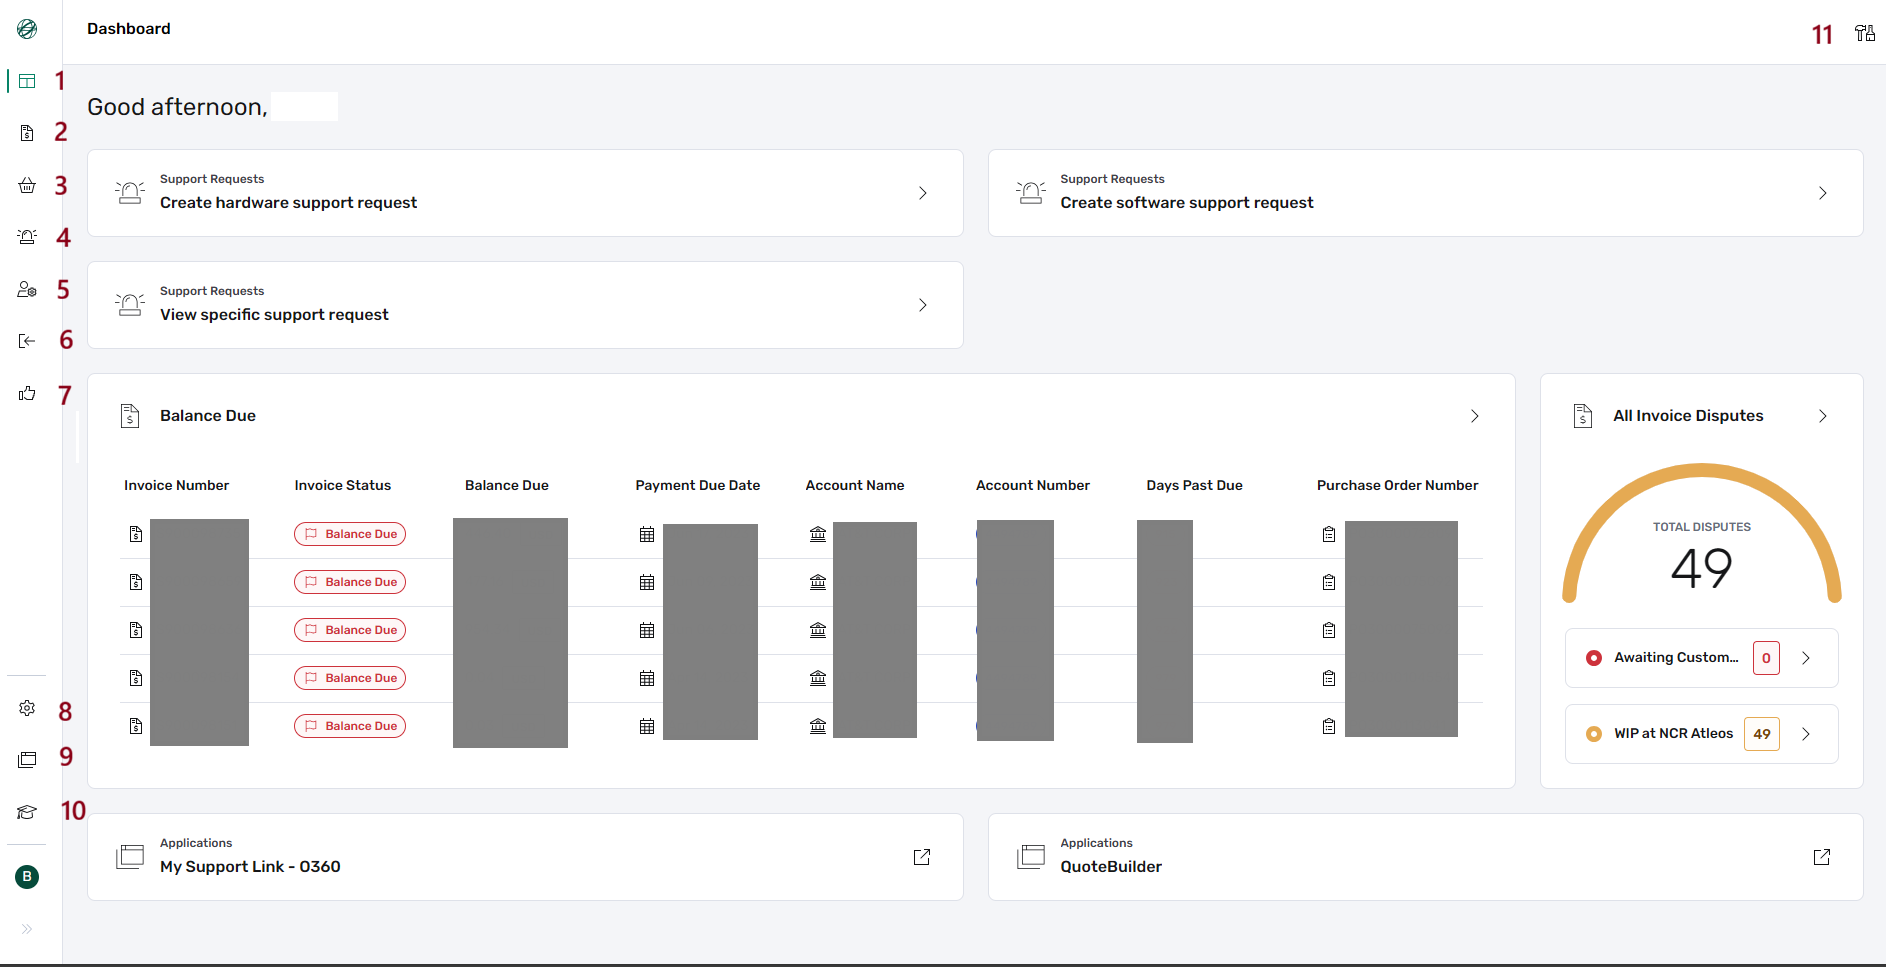
1–11: Side Navigation
The side navigation is persistent across the portal and provides access to key areas and applications available to the user.
| # | Menu Item | Description |
|---|---|---|
| 1 | Dashboard | Returns to homepage. |
| 2 | Invoices | View and dispute invoices. |
| 3 | Orders | View order history and details. |
| 4 | Support Requests | Create and manage support requests. |
| 5 | Administration | Manage user access, registrations, MCN linkages, and application access. |
| 6 | Go Back to MyNCR | Navigate to legacy portal. |
| 7 | Give Portal Feedback | Provide feedback on the portal usability or issues. |
| 8 | Settings | Choose theme, language, and log out. |
| 9 | Applications | Expand a side navigation menu to show applications you currently have access to. |
| 10 | Training Center | Access training materials and guides. |
| 11 | Customize Dashboard | Customize the layout and contents of your Dashboard; organize widget size and position. |
The sections below focus on the individual widgets that can appear within the dashboard area. Widgets provide quick access to commonly used actions, summaries, and applications, depending on user role and assigned permissions.
Widgets can be rearranged, resized, or hidden to better match individual workflows. The layout shown in the example above is illustrative and may differ from one user to another.
Screenshots included below demonstrate widget functionality and purpose; however, not all available widgets are represented.
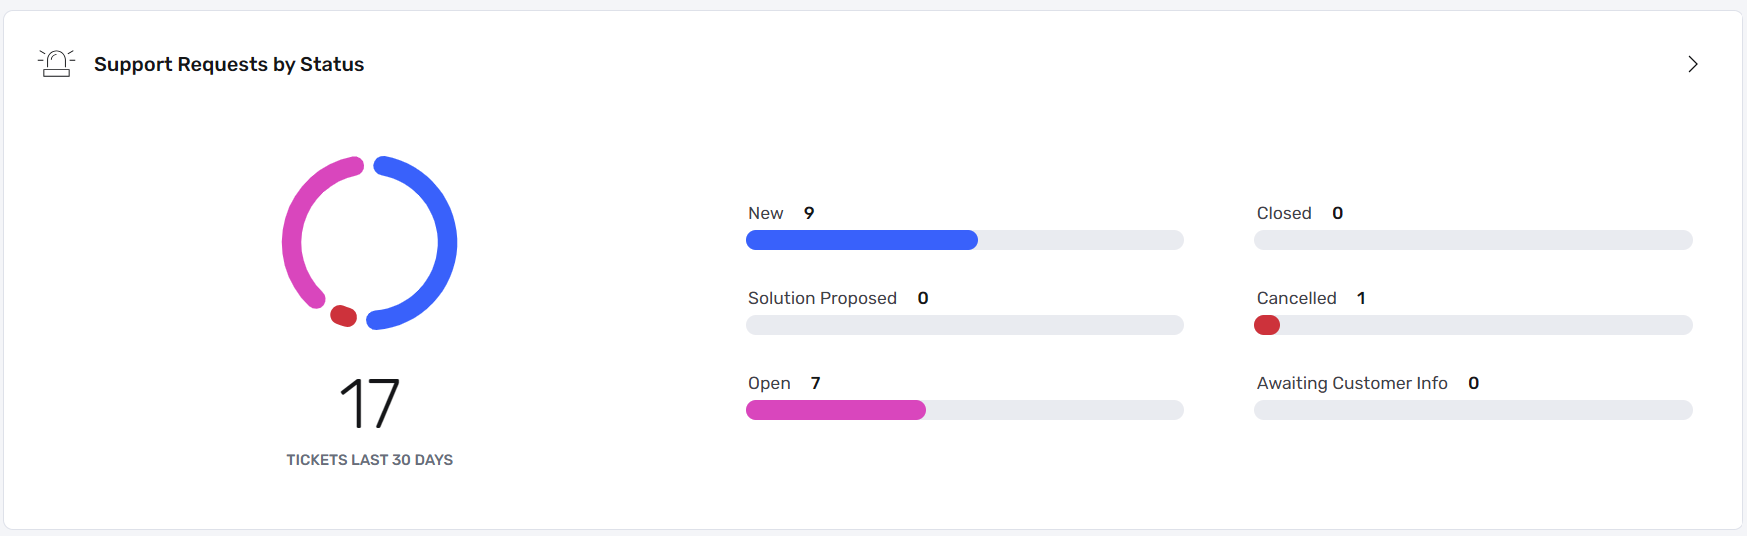
Displays all submitted support requests grouped by status, including new, open, closed, cancelled, proposed solutions, and requests awaiting customer input.
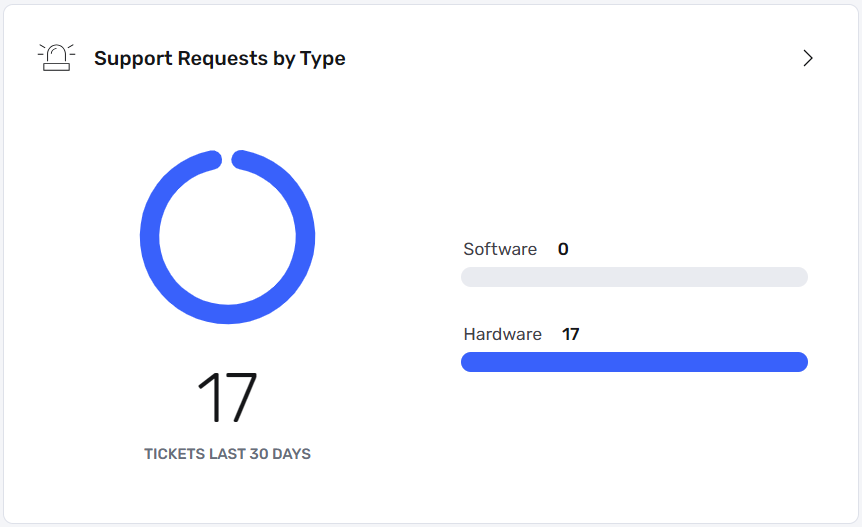
Shows the ratio between hardware and software-related support requests.

Allows quick access to individual support requests.

Enables creation of a new hardware support request directly from the dashboard.

Enables creation of a new software support request directly from the dashboard.
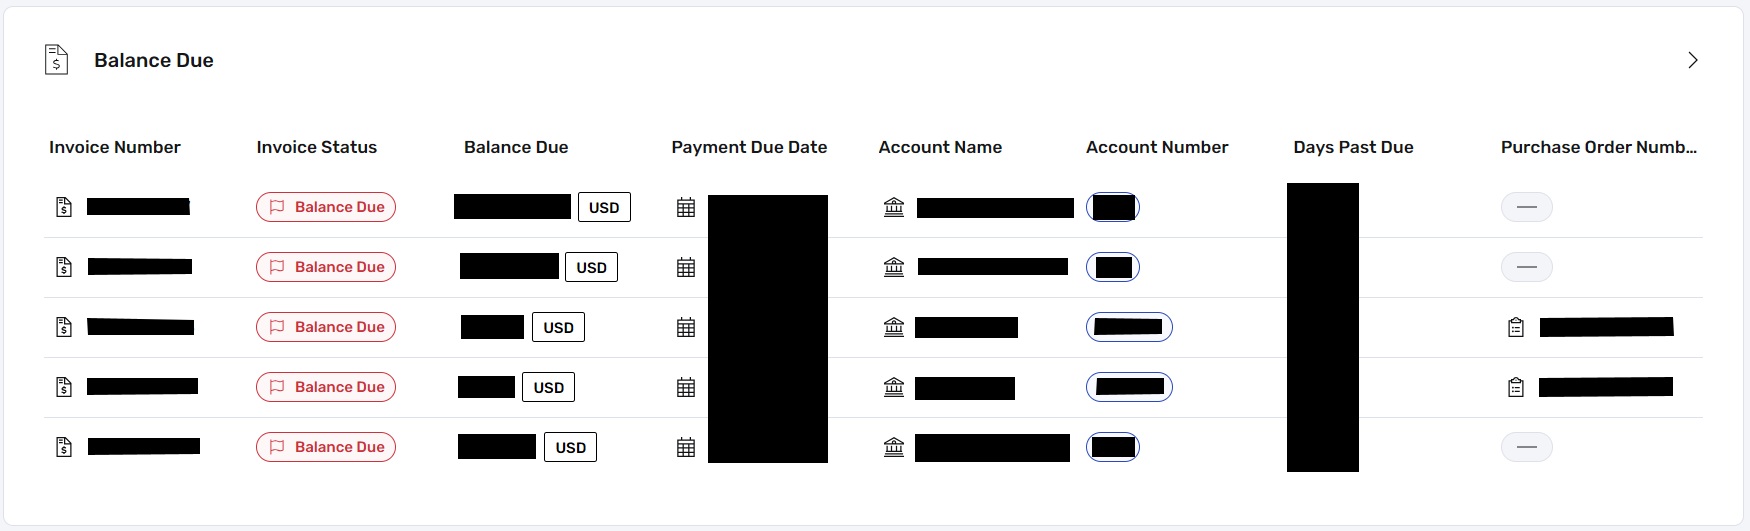
Displays invoices with outstanding balances.
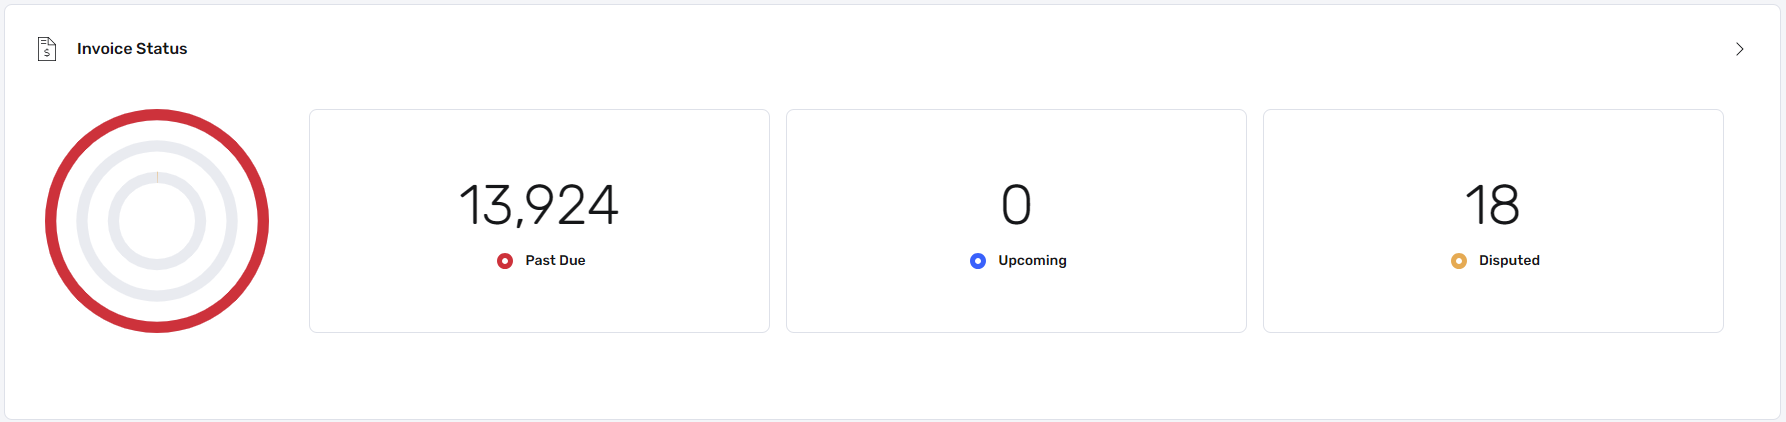
Provides a visual summary of invoice states.

Allows users to submit feedback about portal usability.
Application widgets act as entry points to commonly used NCR Atleos Central applications.

Opens the My Support Link – O360 application.

Opens the Quotebuilder application.
The set of available widgets may expand over time. The dashboard remains flexible to support evolving user needs and workflows.
Selecting Customize Dashboard (item 11 in the side navigation) switches the dashboard into customization mode. In this mode, all widgets currently displayed on the dashboard become interactive and can be reorganized, removed, or adjusted to better suit individual workflows.
While customization mode is active, users can manage both the position and layout of widgets, as well as create new sections to group related widgets together.
When hovering the mouse cursor over a widget in customization mode, three action buttons appear at the top of the widget. These controls allow direct manipulation of the widget without leaving the dashboard.
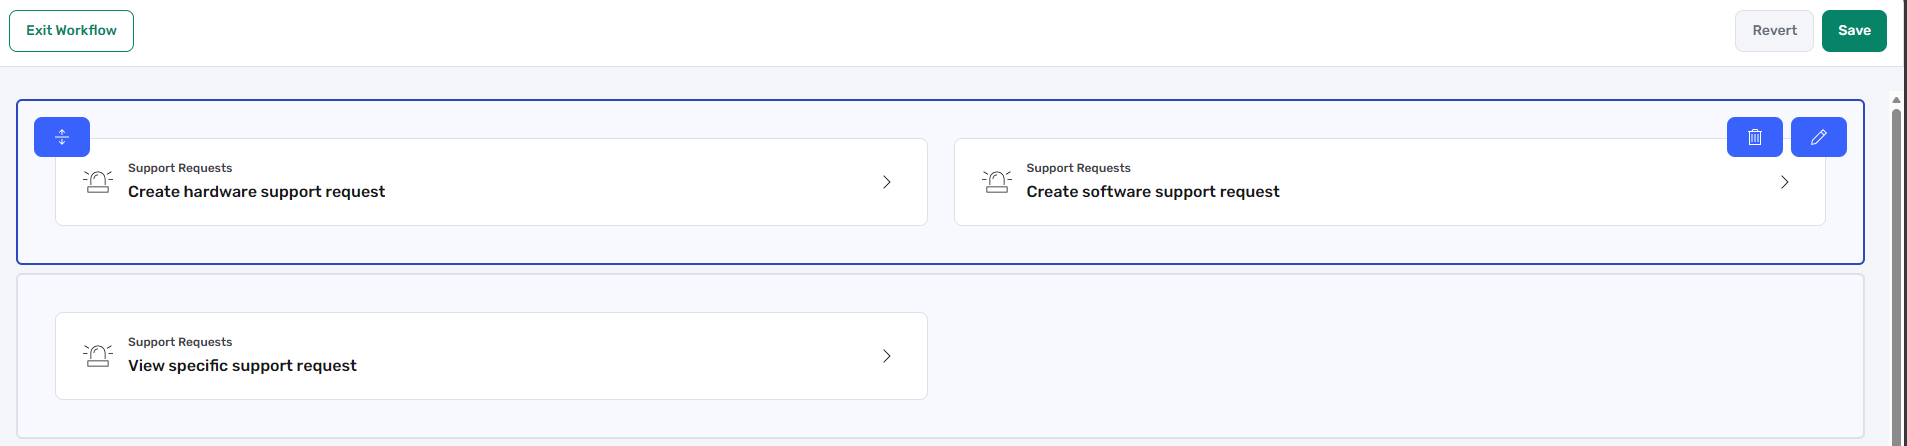
From left to right, the available widget actions are:
In addition to these per-widget controls, a page-level Add Section button is available at the bottom of the dashboard in customization mode, allowing new sections to be created (see Adding New Sections below).
Choosing the Edit option opens a configuration popup where users can define the layout and size of the widget. This allows widgets to be displayed in different widths or arrangements within a section.
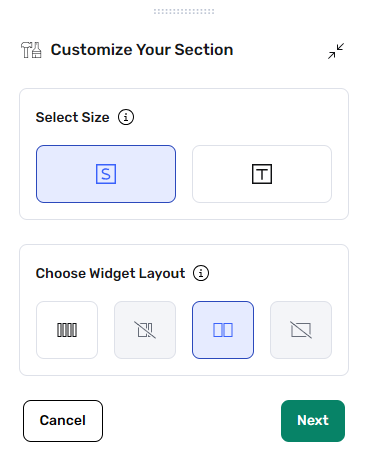
The popup provides a visual representation of available layout options, making it easier to select how much space the widget should occupy within the dashboard.
In addition to editing existing widgets, users can add entirely new sections to the dashboard. Sections act as containers that can hold one or more widgets arranged in a selected layout.
When scrolling to the bottom of the dashboard in customization mode, users can move the mouse cursor just below the last widget on the page. An Add Section button will appear, allowing a new section to be created.
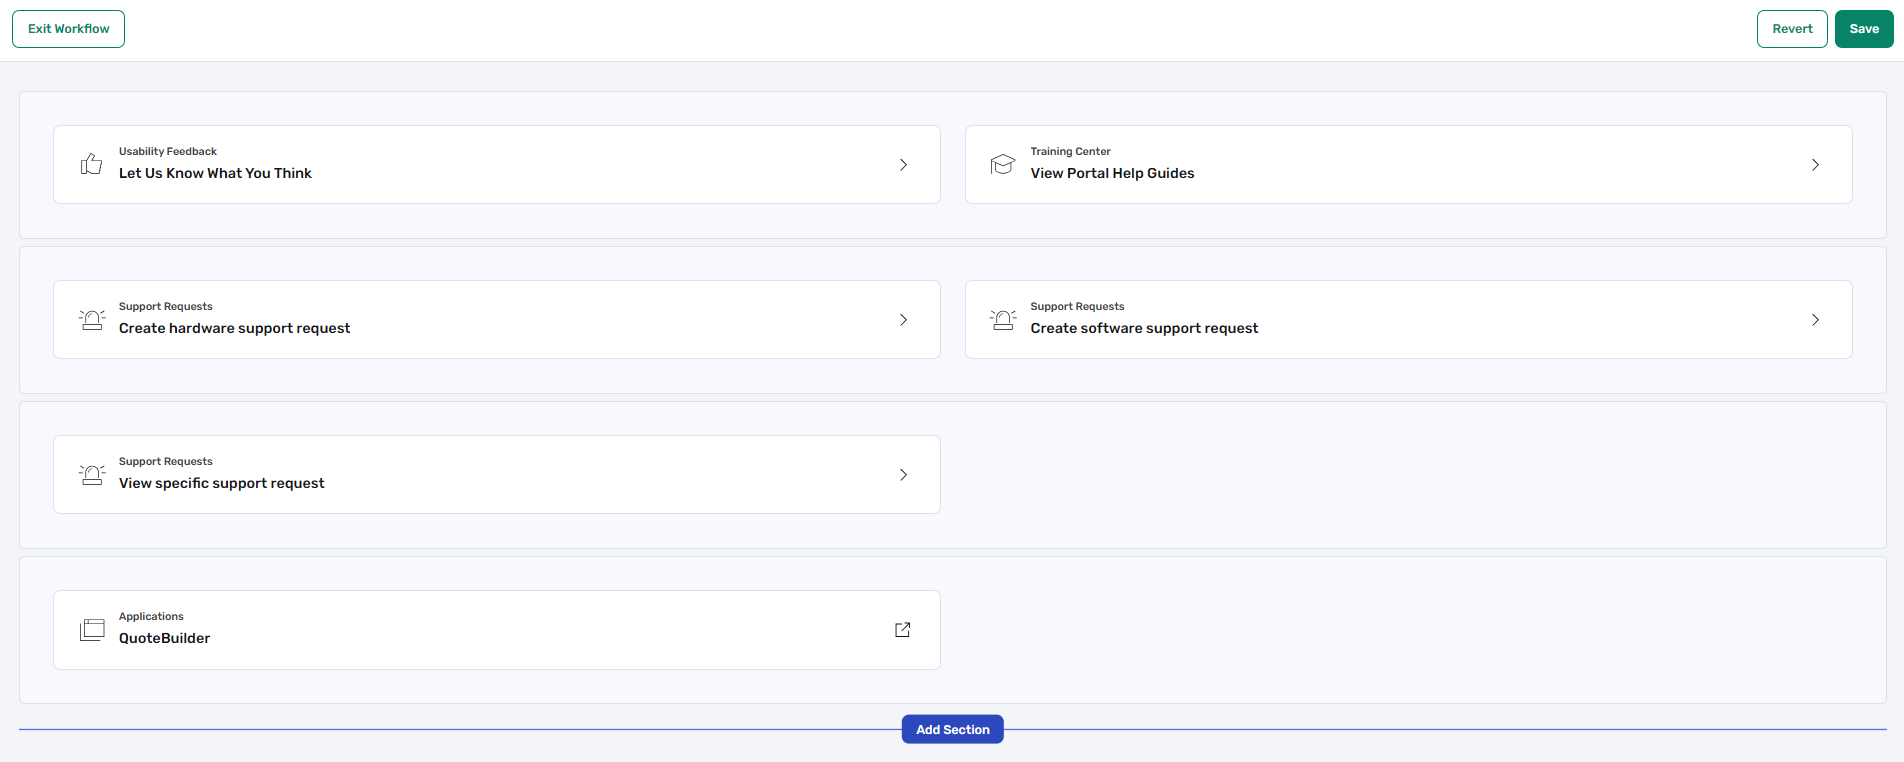
Clicking Add Section opens the same layout and size selection popup shown above. From there, users choose the section layout and then populate it with the widgets they want to display within that section.
This approach allows the dashboard to be structured into logical sections, helping users group related widgets and tailor the overall layout to their needs.