
This page explains how to use the Support Request Management feature in the NCR Atleos Central portal. You'll learn how to find and review equipment details, how to opt into email notifications on ticket updates via Ticket Watcher, and how to create, update, escalate, cancel, and download support tickets.
Any user with the Support Request Management Admin permission can view and create tickets in the portal.
Available actions are based on a user's assigned permissions:
Customers with Managed Services contracts do not see or use the Support Request feature in the new NCR Atleos Central experience.
Managed Services customers submit and track incidents through Ops 360.
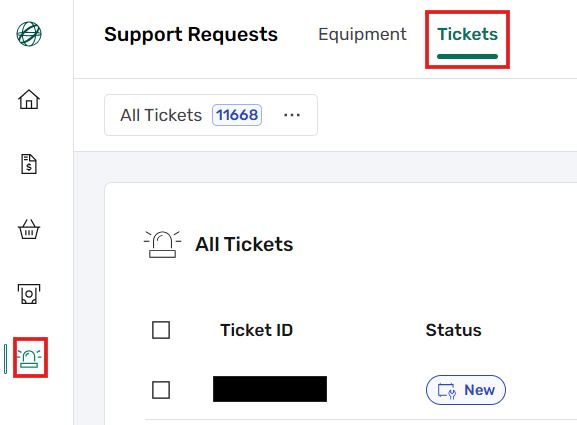
From the left-hand vertical menu, click the light bulb icon (the Support Request Management icon). This opens the Support Requests page, where users can manage their Equipment and Tickets as well as create requests.
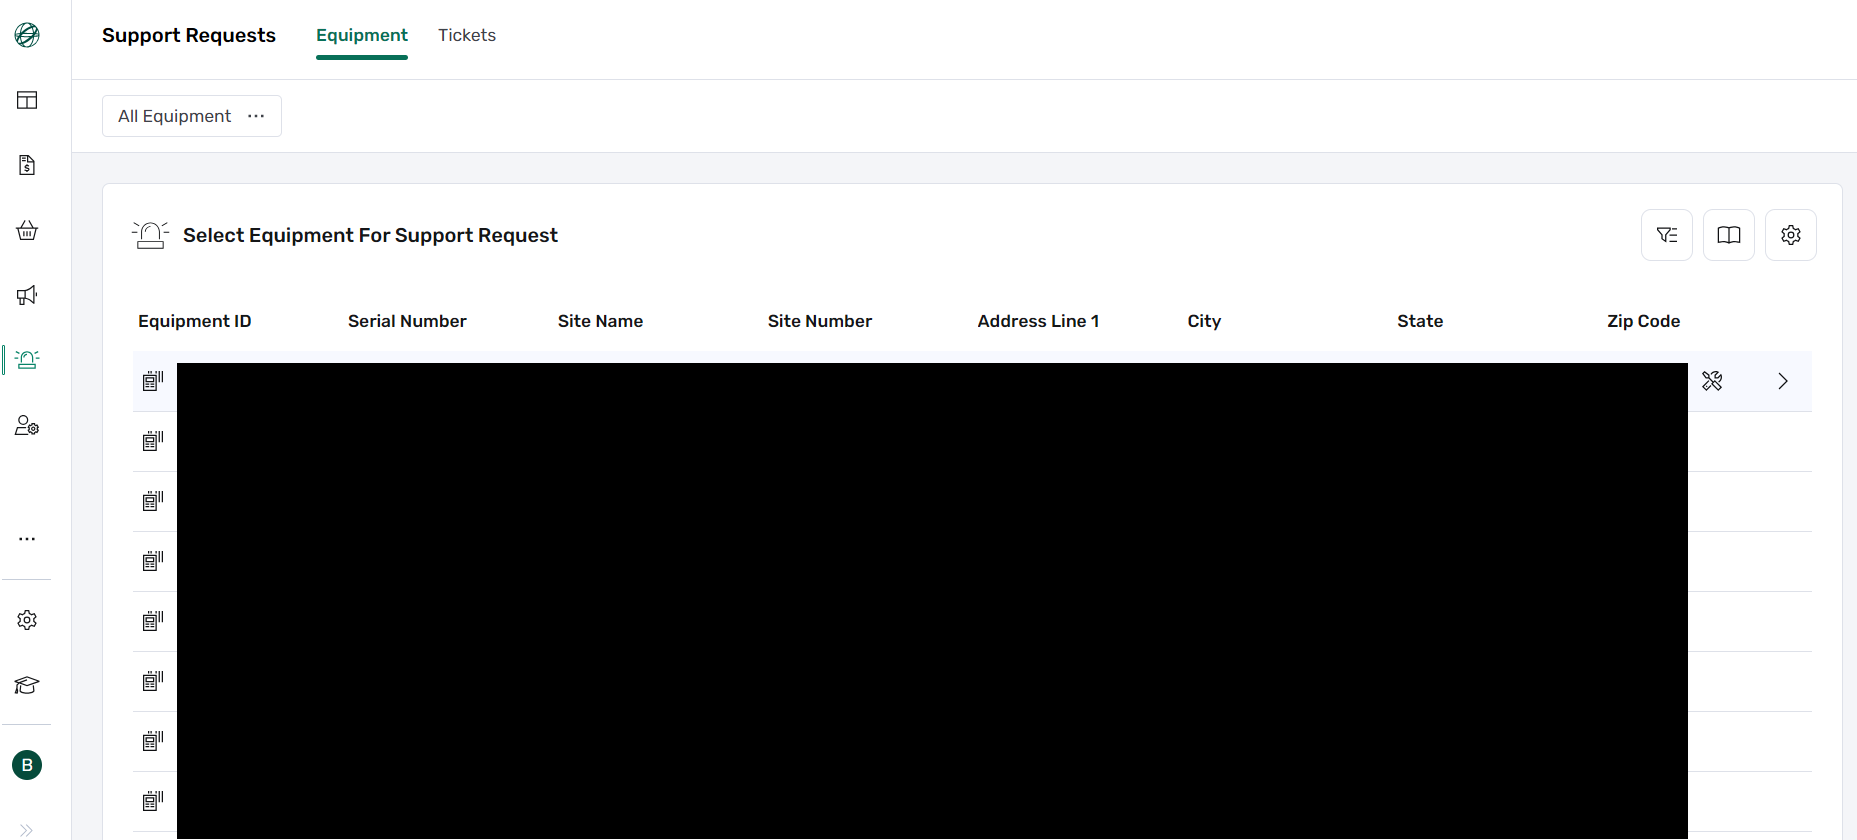
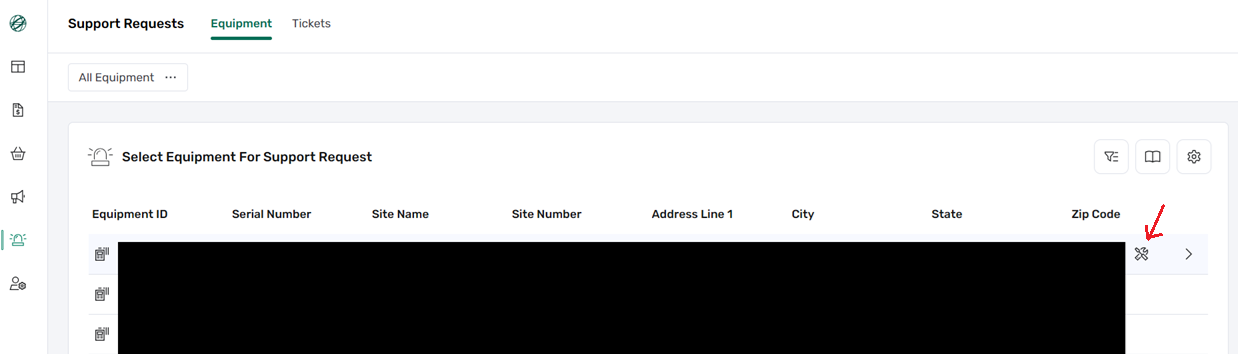
In the Equipment view, you'll see a table listing all available equipment. Hovering over a row highlights it and reveals action buttons on the right side: Create Support Request and View Equipment Details.
When you hover over a row, two actions become available:
• Create Support Request — Opens the ticket creation form for that specific device.
Fields such as device and location details are automatically filled in when available.
• View Equipment Details — Displays a read-only view containing additional information about the selected equipment item, including its historical support tickets.
In the upper-right area of the "Select Equipment for Support Request" view, you'll find three tools to help locate specific equipment:
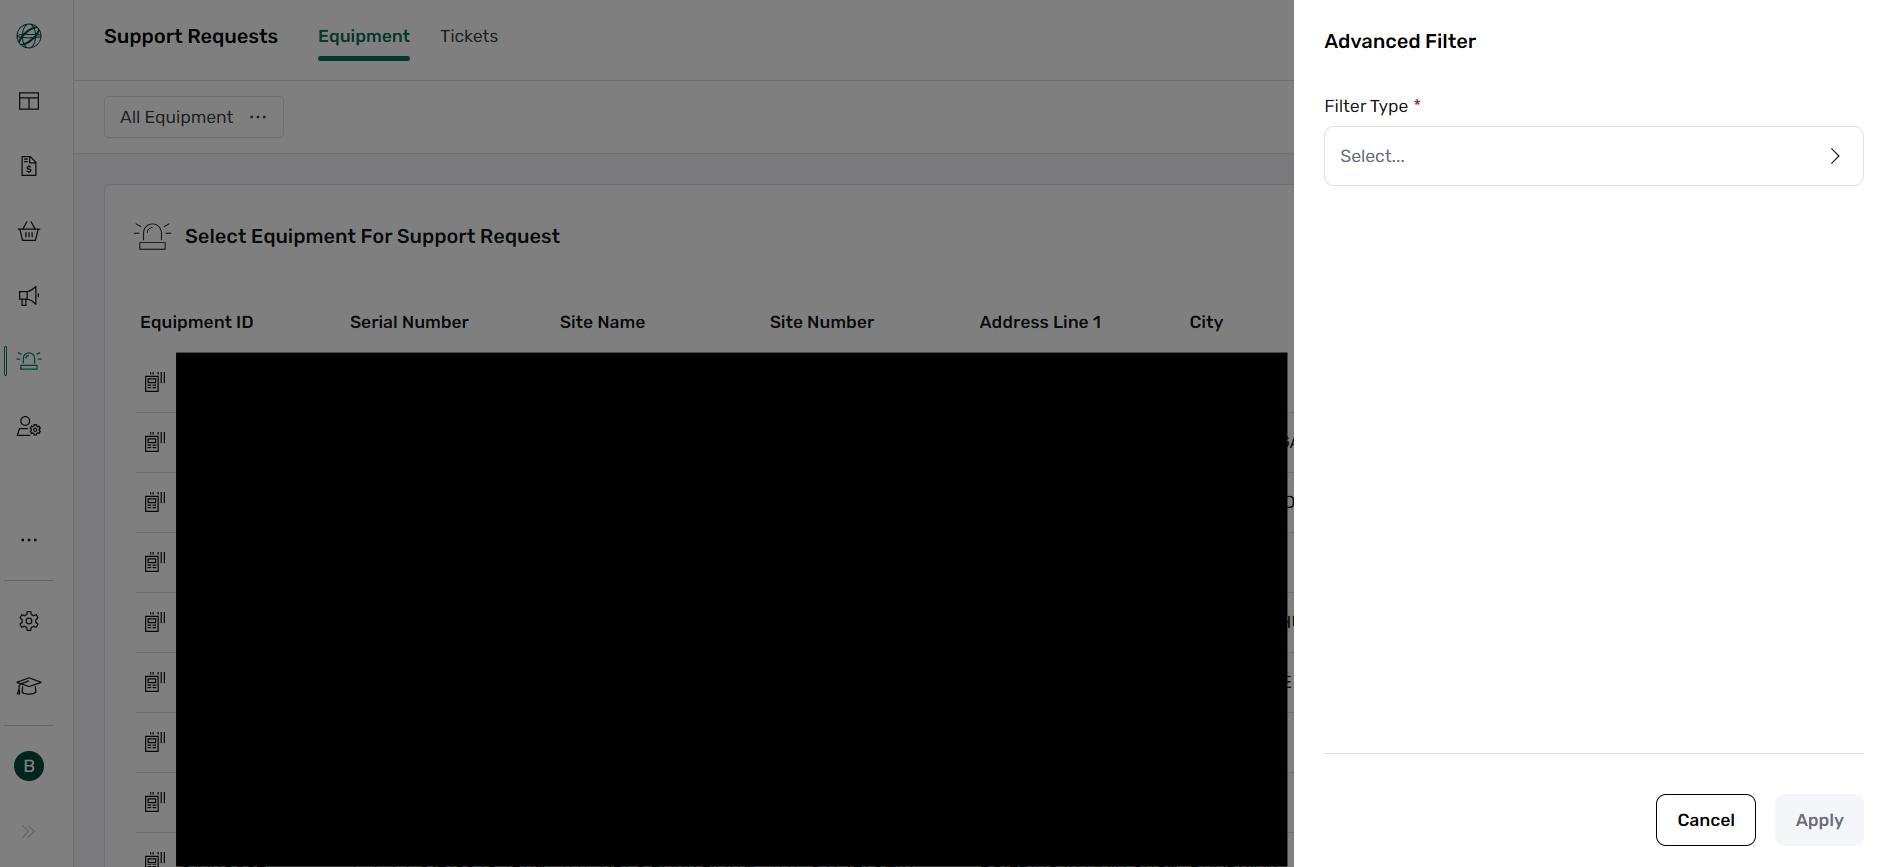
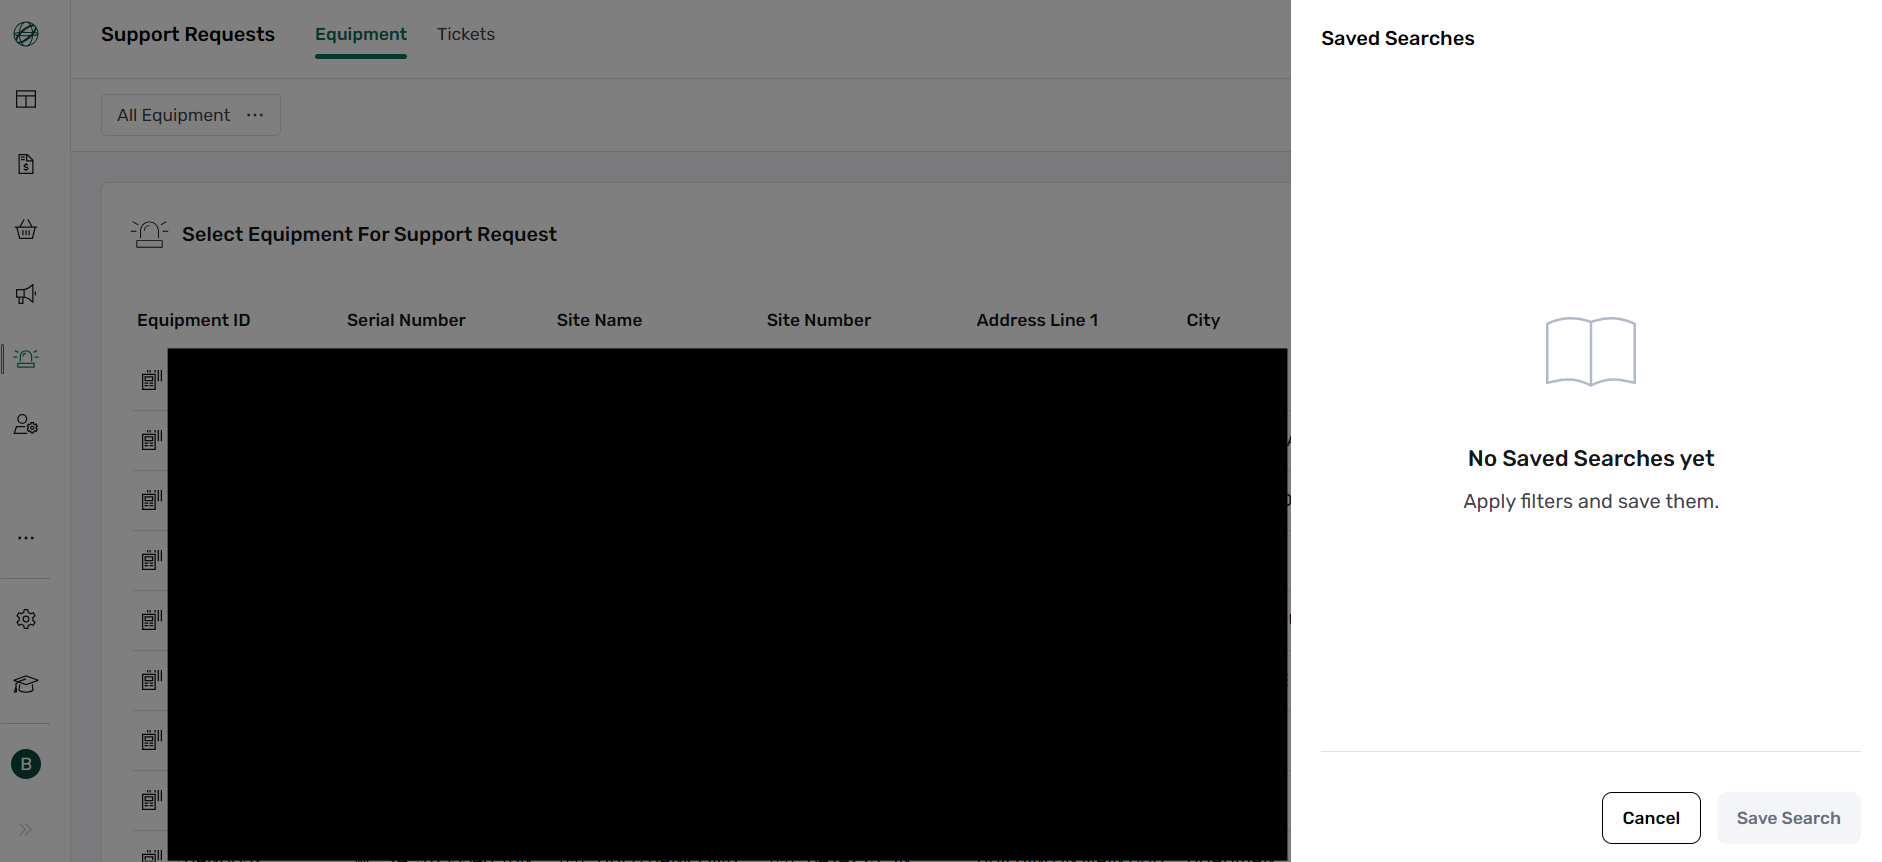
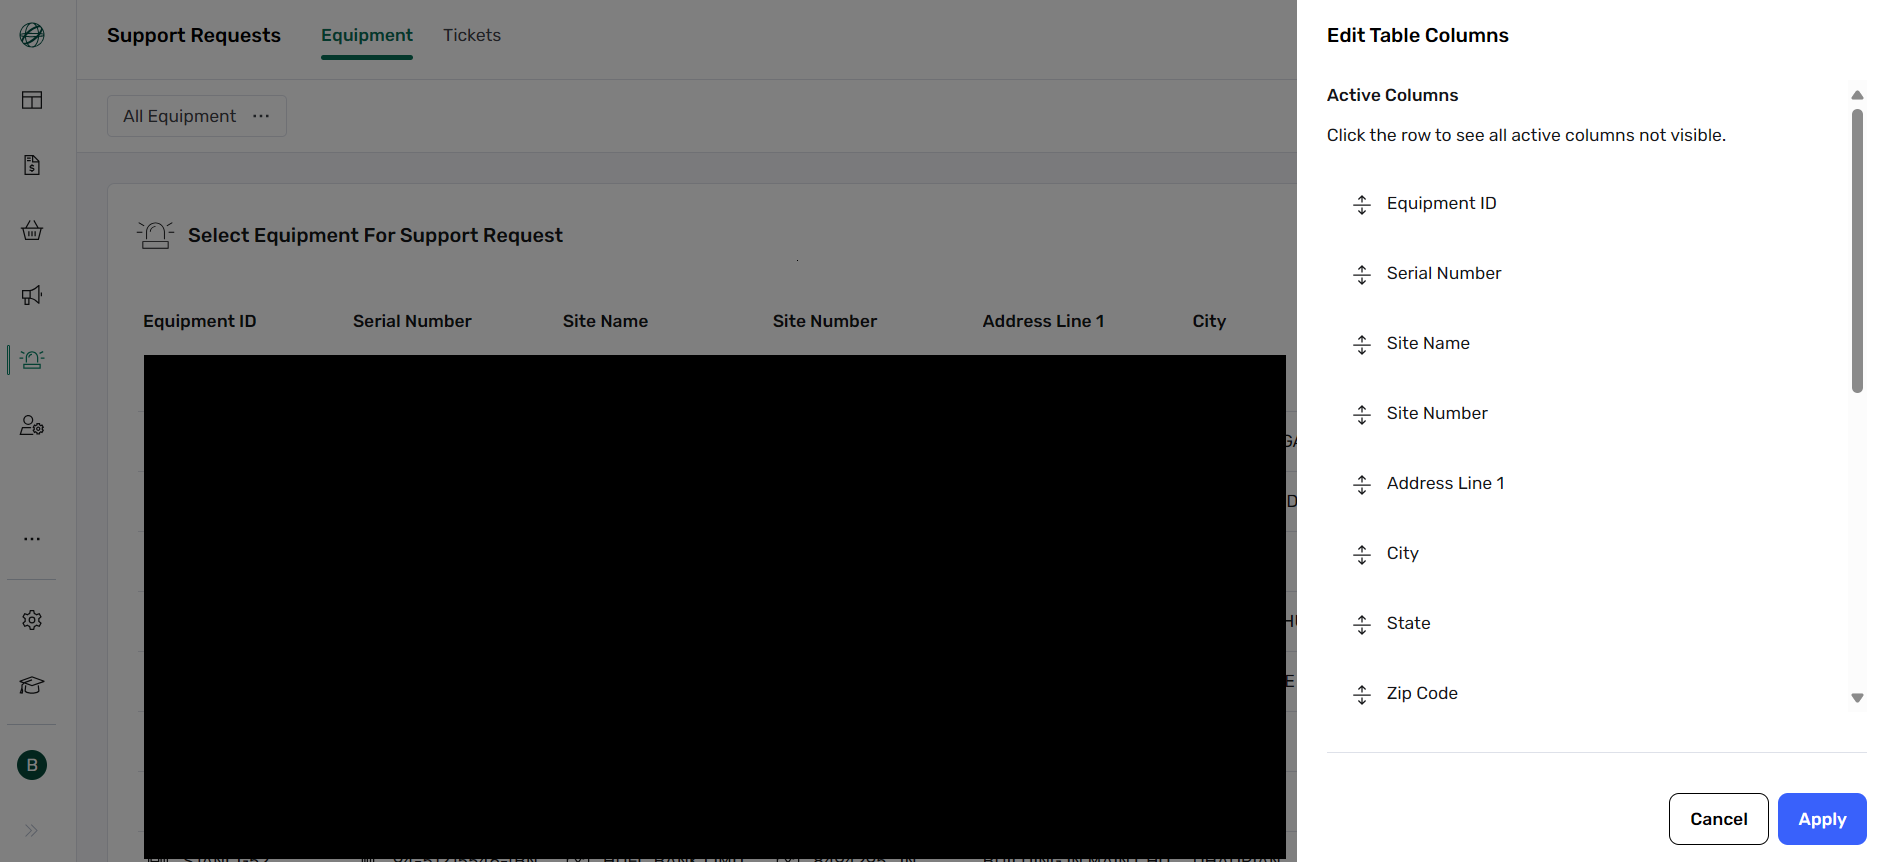
Use Advanced Filter to find specific devices, save the search for later use, and adjust the table columns to show the most relevant fields for your workflow.
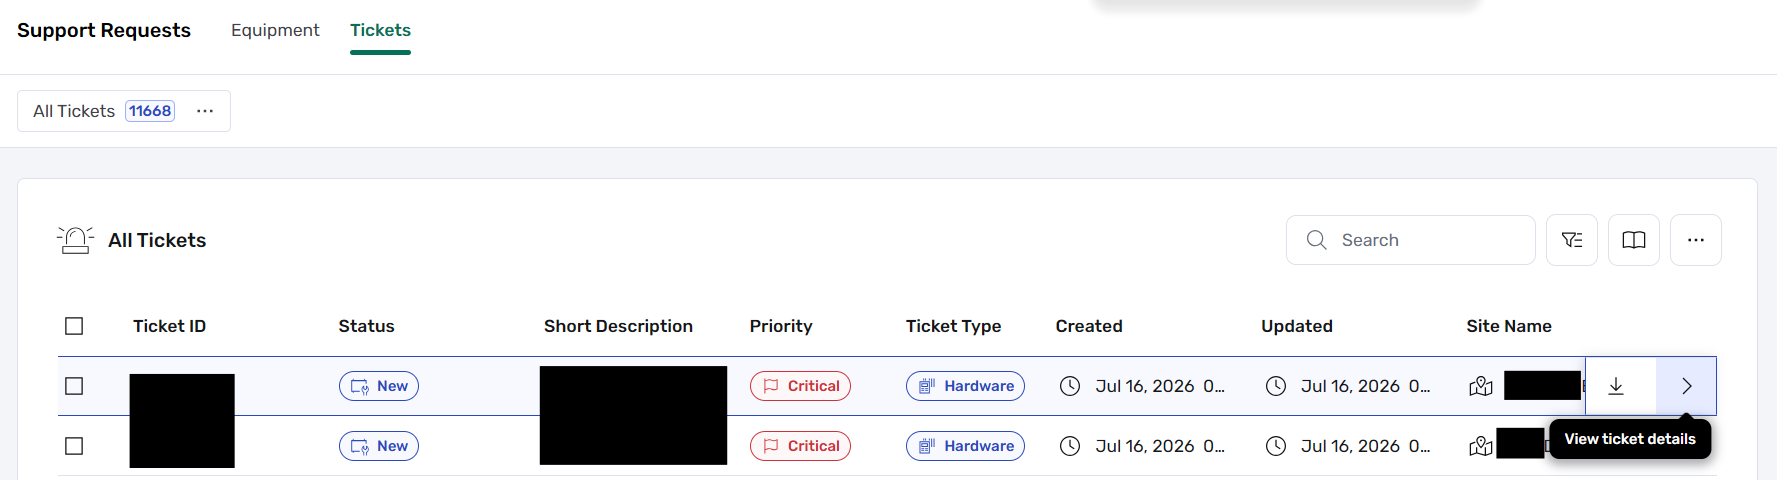
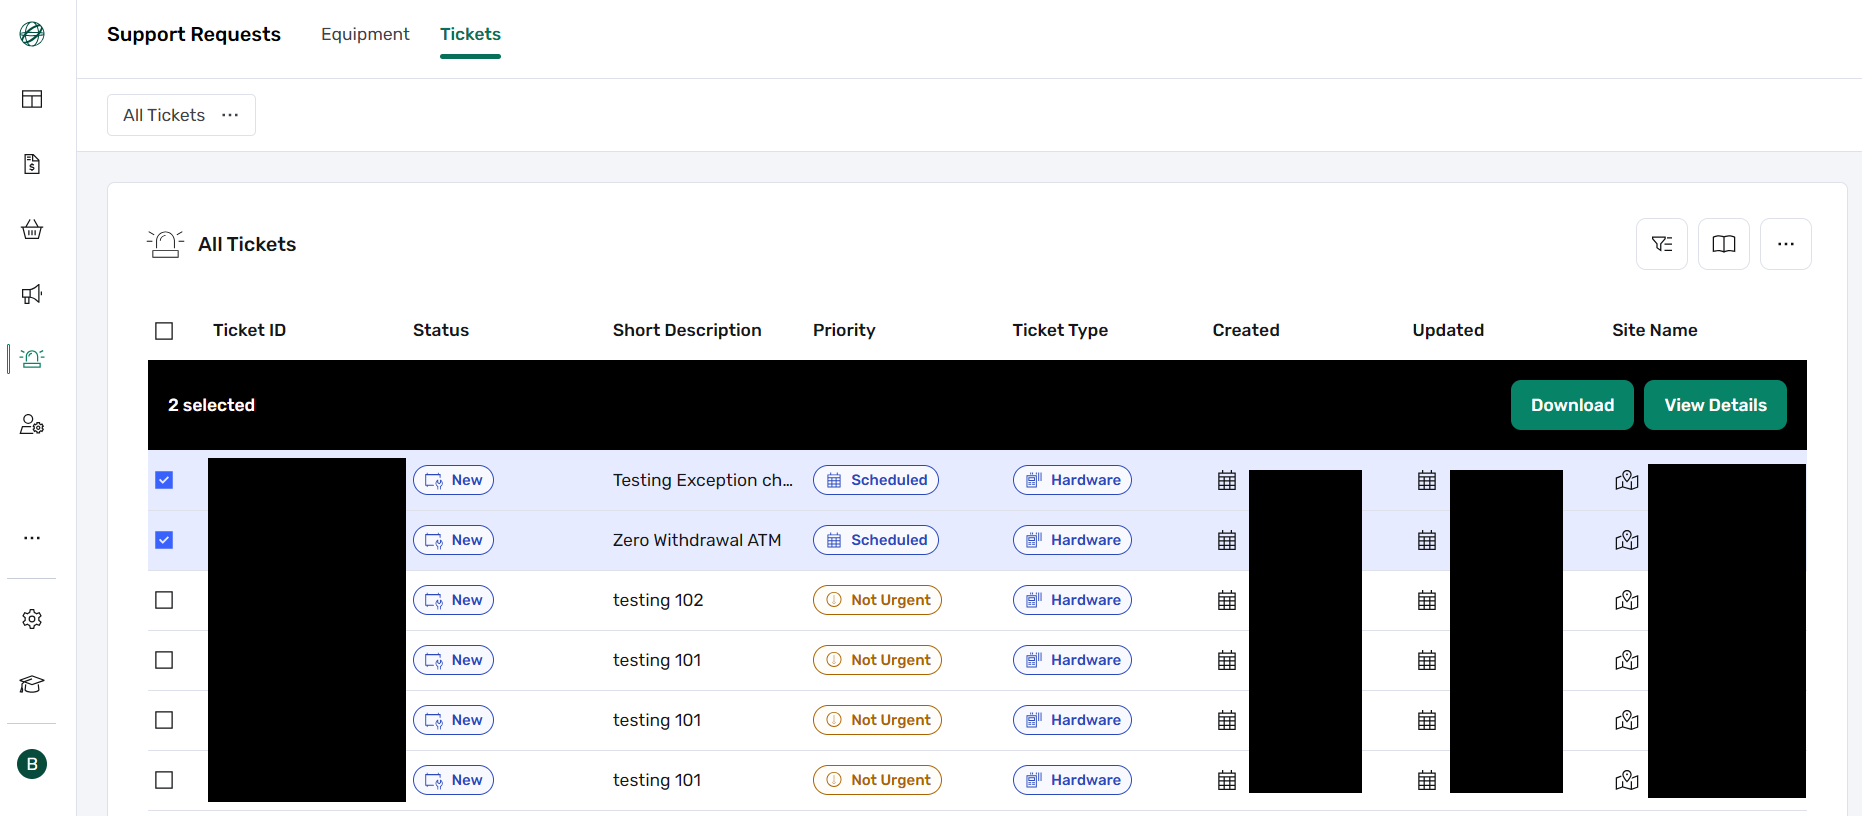
Click the Tickets tab (located next to the Equipment tab) to view all support tickets associated with your account. Each ticket row includes details such as Ticket ID, Status, Short Description, Priority (e.g., Scheduled, Not Urgent), Ticket Type (Hardware/Software), Creation Date, Update Date, and related Site Name.
The Tickets tab includes the same three controls (Advanced Filter, Saved Searches, and Edit Table Columns), allowing you to easily search, sort, and format your ticket list.
Hovering over a row highlights it and displays the View ticket details arrow. Click the arrow icon to open the detailed view for that ticket.
Users can opt in to receive real-time email notifications regarding ticket status changes using the Ticket Watcher feature directly from the ticket details page.
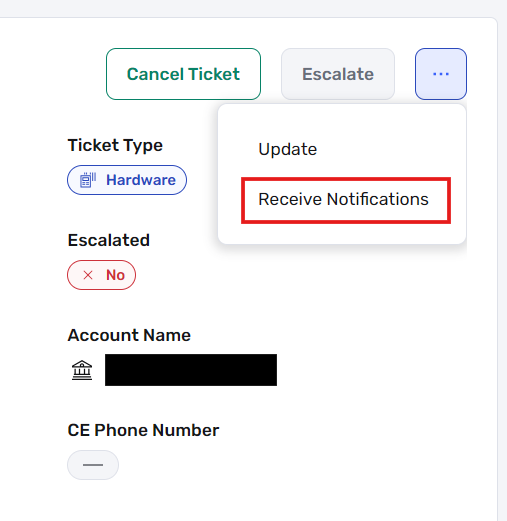
4. A Ticket Watcher confirmation popup will appear asking if you would like to receive email updates whenever the status of the ticket changes.
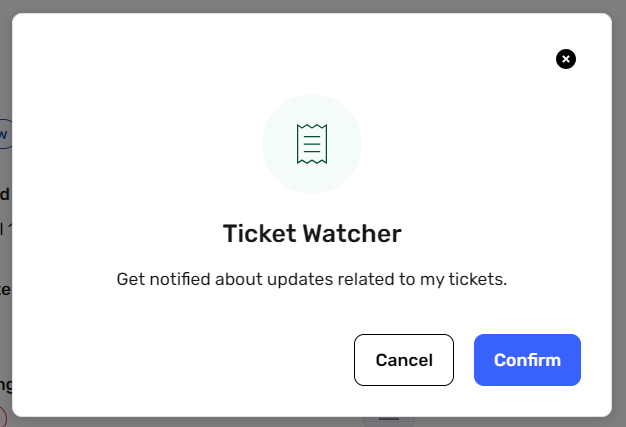
5. Click Confirm to subscribe to status updates, or Cancel to close the dialog without opting in.
If a support request requires urgent attention and meets specific criteria, you can escalate it directly from the portal. To escalate, navigate to the Tickets tab, open the ticket's details, and click the Escalate button located in the upper right corner.
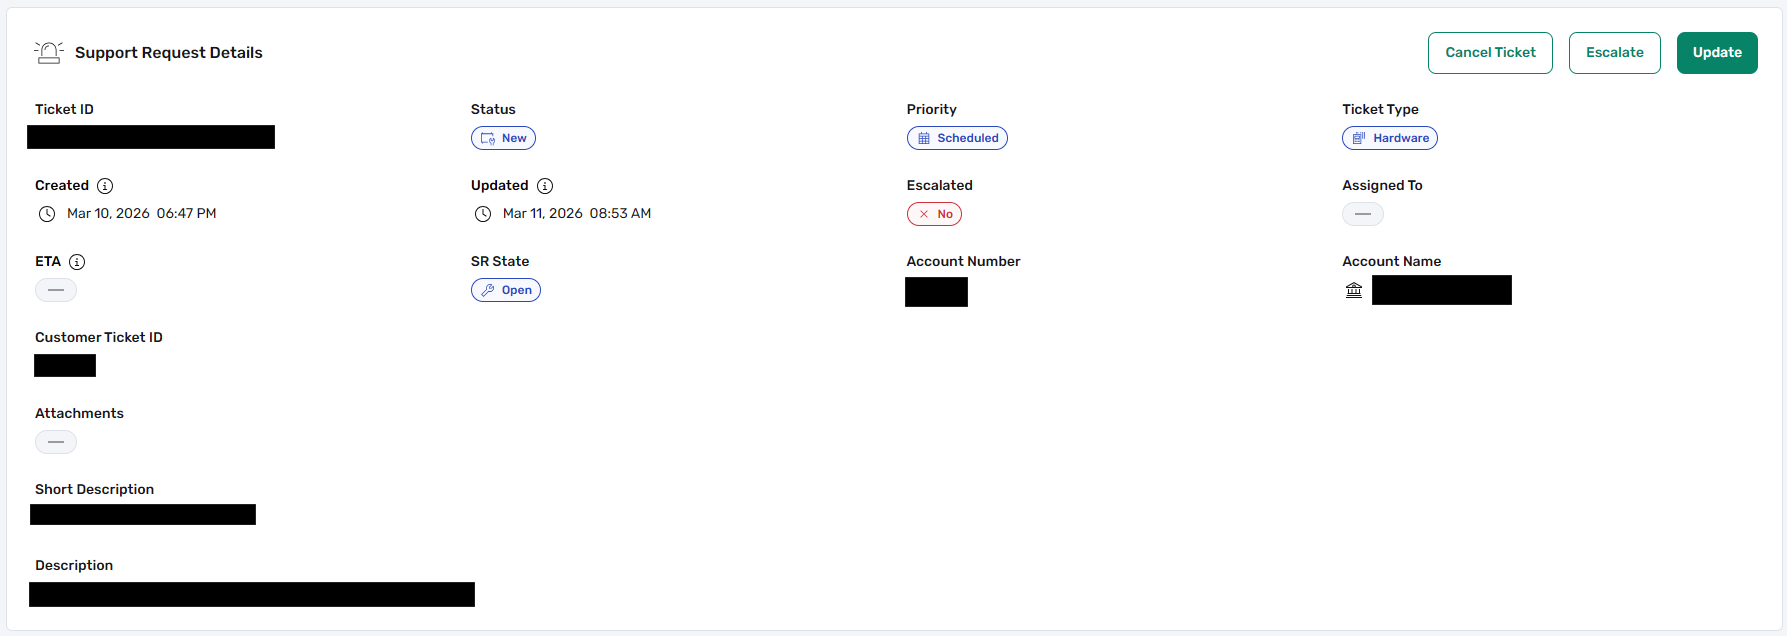
A ticket is eligible for escalation only if all of the following are true:
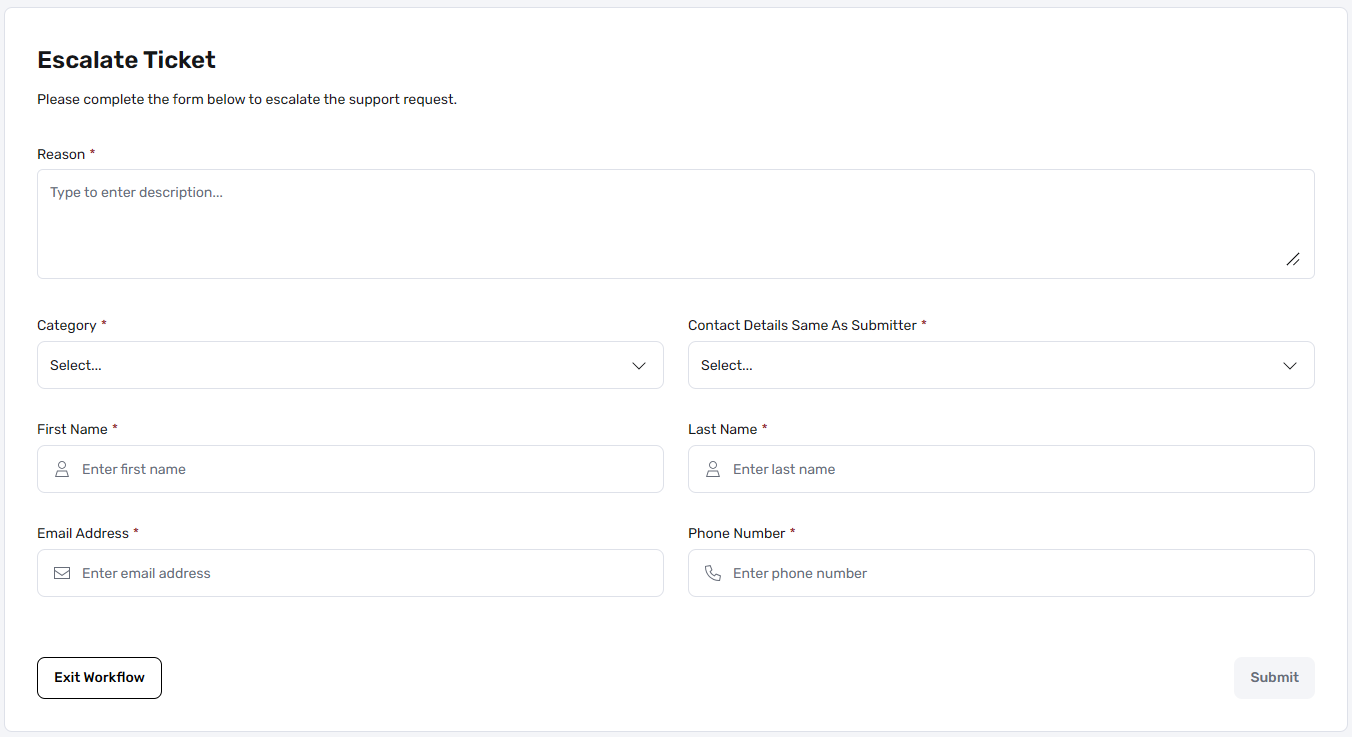
Clicking the Escalate button opens the Escalation Form. You will be required to provide an escalation reason, category (e.g., Aged Ticket, ETA outside of SLA, Chronic Issue), and your contact details.
To download software (SW) and hardware (HW) support tickets, select one or more tickets by checking the boxes on the left side of the table, then click the green Download button. The selected tickets are exported for offline review or reporting.
You can also hover over a ticket and use the Download action to export it individually.
The restriction on submitting critical priority tickets through the portal applies to Software (SW) Support only. The NCR Atleos Central portal does not accept critical Software support tickets — these must be reported by phone (see contact numbers below).
Hardware (HW) P1 critical tickets can be opened directly in the portal. The portal accepts Hardware tickets at all priority levels, including critical (P1/Sev1).
| Ticket Type | Critical (P1 / Sev1) via Portal? |
| Hardware (HW) | ✅ Yes — can be submitted in the portal |
| Software (SW) | ❌ No — must contact support by phone |
Support requests with High Impact and High Urgency (Severity 1 / Critical incidents) cannot be submitted through the portal for Software support.
When users select the highest urgency and impact values during Software ticket creation, the portal displays the following message:
For Sev1 / Critical Software incidents, contact support immediately by phone:
If your organization has been provided with a dedicated or pre-assigned support phone number, you may use that number instead, following your established escalation procedures.
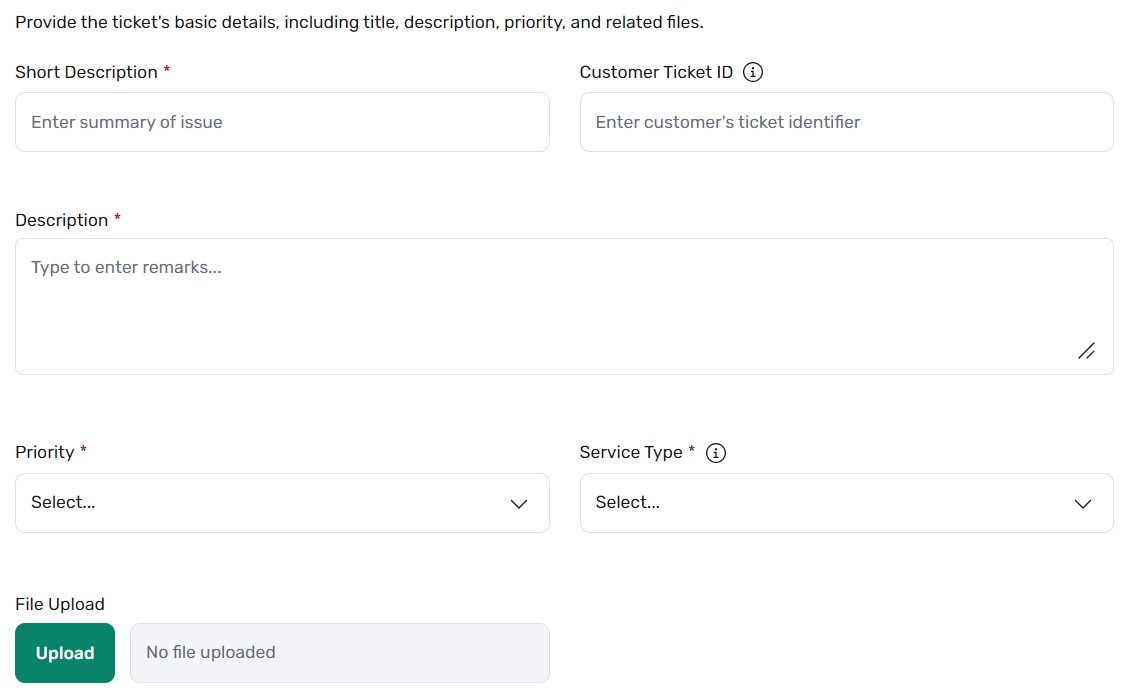
Clicking Create Support Request on a specific equipment row opens the ticket creation form. Most fields are pre-filled using the equipment's details and serial number, reducing manual input and minimizing errors.
You can also create a new support request directly from the ticket details page by clicking the Create Support Request button.
1. Short Description — Provide a brief summary of the issue.
2. Customer Ticket ID — Enter your internal reference number (if applicable).
3. Description — Include a full description of the issue, steps to reproduce, observed behavior, and troubleshooting already performed.
4. Priority — Choose the urgency level: Critical, Urgent, Not Urgent, or Scheduled.
5. Service Type — Choose the type of service desired (e.g. SLM - Second Line Maintenance).
6. File Upload — Attach logs, screenshots, or other helpful files (maximum size: 5 MB).
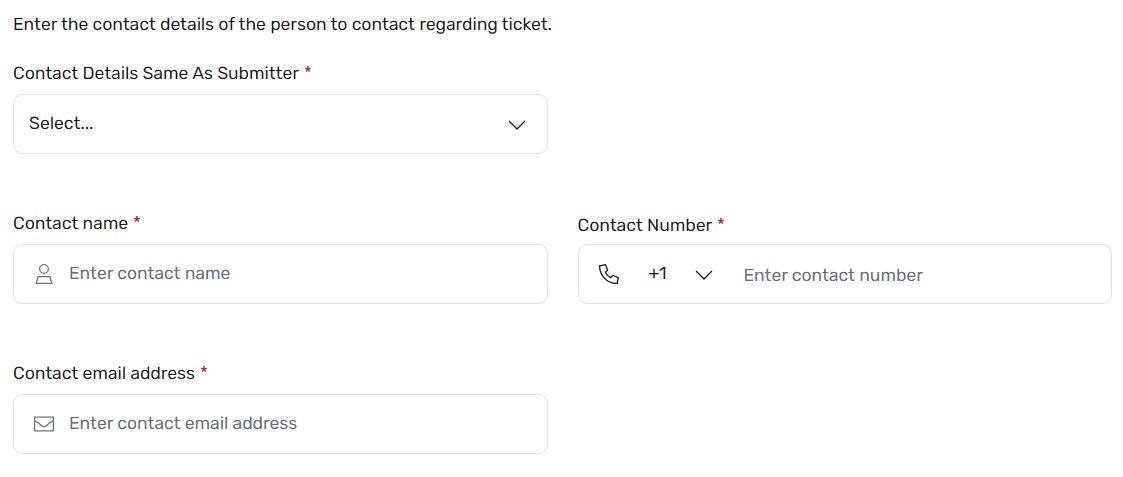
1. Contact Details Same As Submitter — Select "Yes" to auto-fill the fields with your details, or "No" to specify another contact.
2. Contact Name — The person support should contact regarding the issue.
3. Contact Number — Include a valid phone number with the country code if applicable.
4. Contact Email Address — Email address for ticket updates.
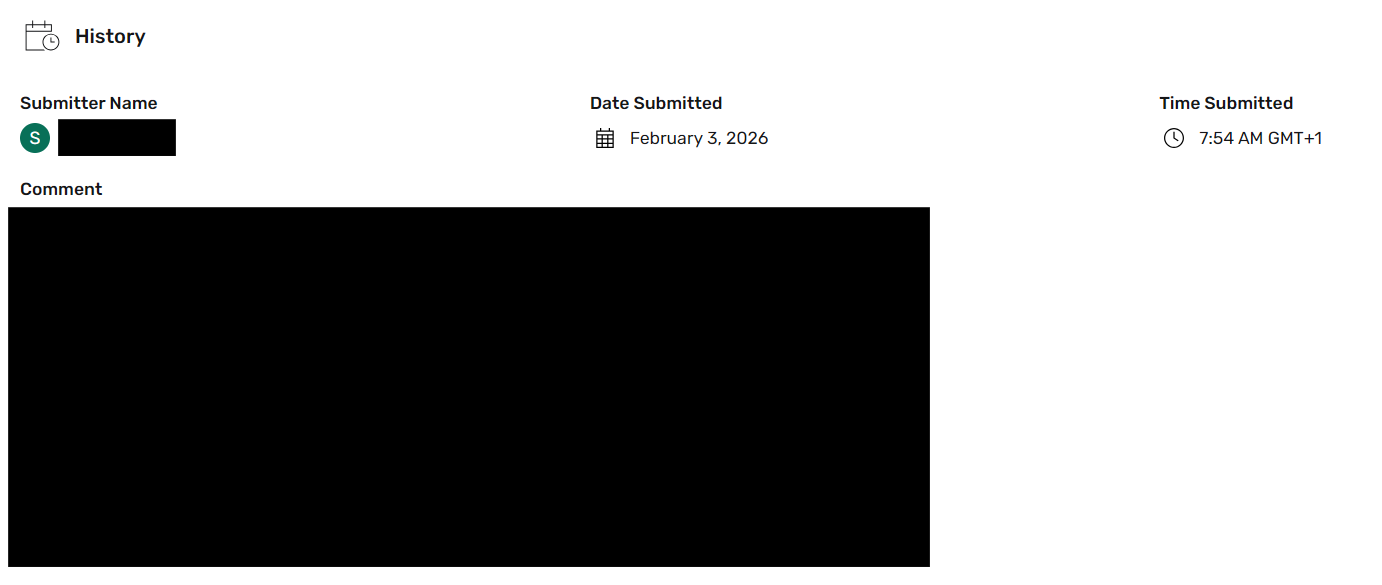
All ticket updates and support staff comments appear in the History section of the ticket details page. Scroll down to review the full sequence of actions, comments, and file attachments.
Users can always hover over a ticket or equipment row to reveal hidden actions. Many screens include in-line search and filter capabilities to locate items faster.